We’ve been busy making improvements to the Drive API and Developer Portal so you can create and manage deliveries more easily. Here’s what’s new:
- Customize the SMS messagessent to customers about their deliveries.
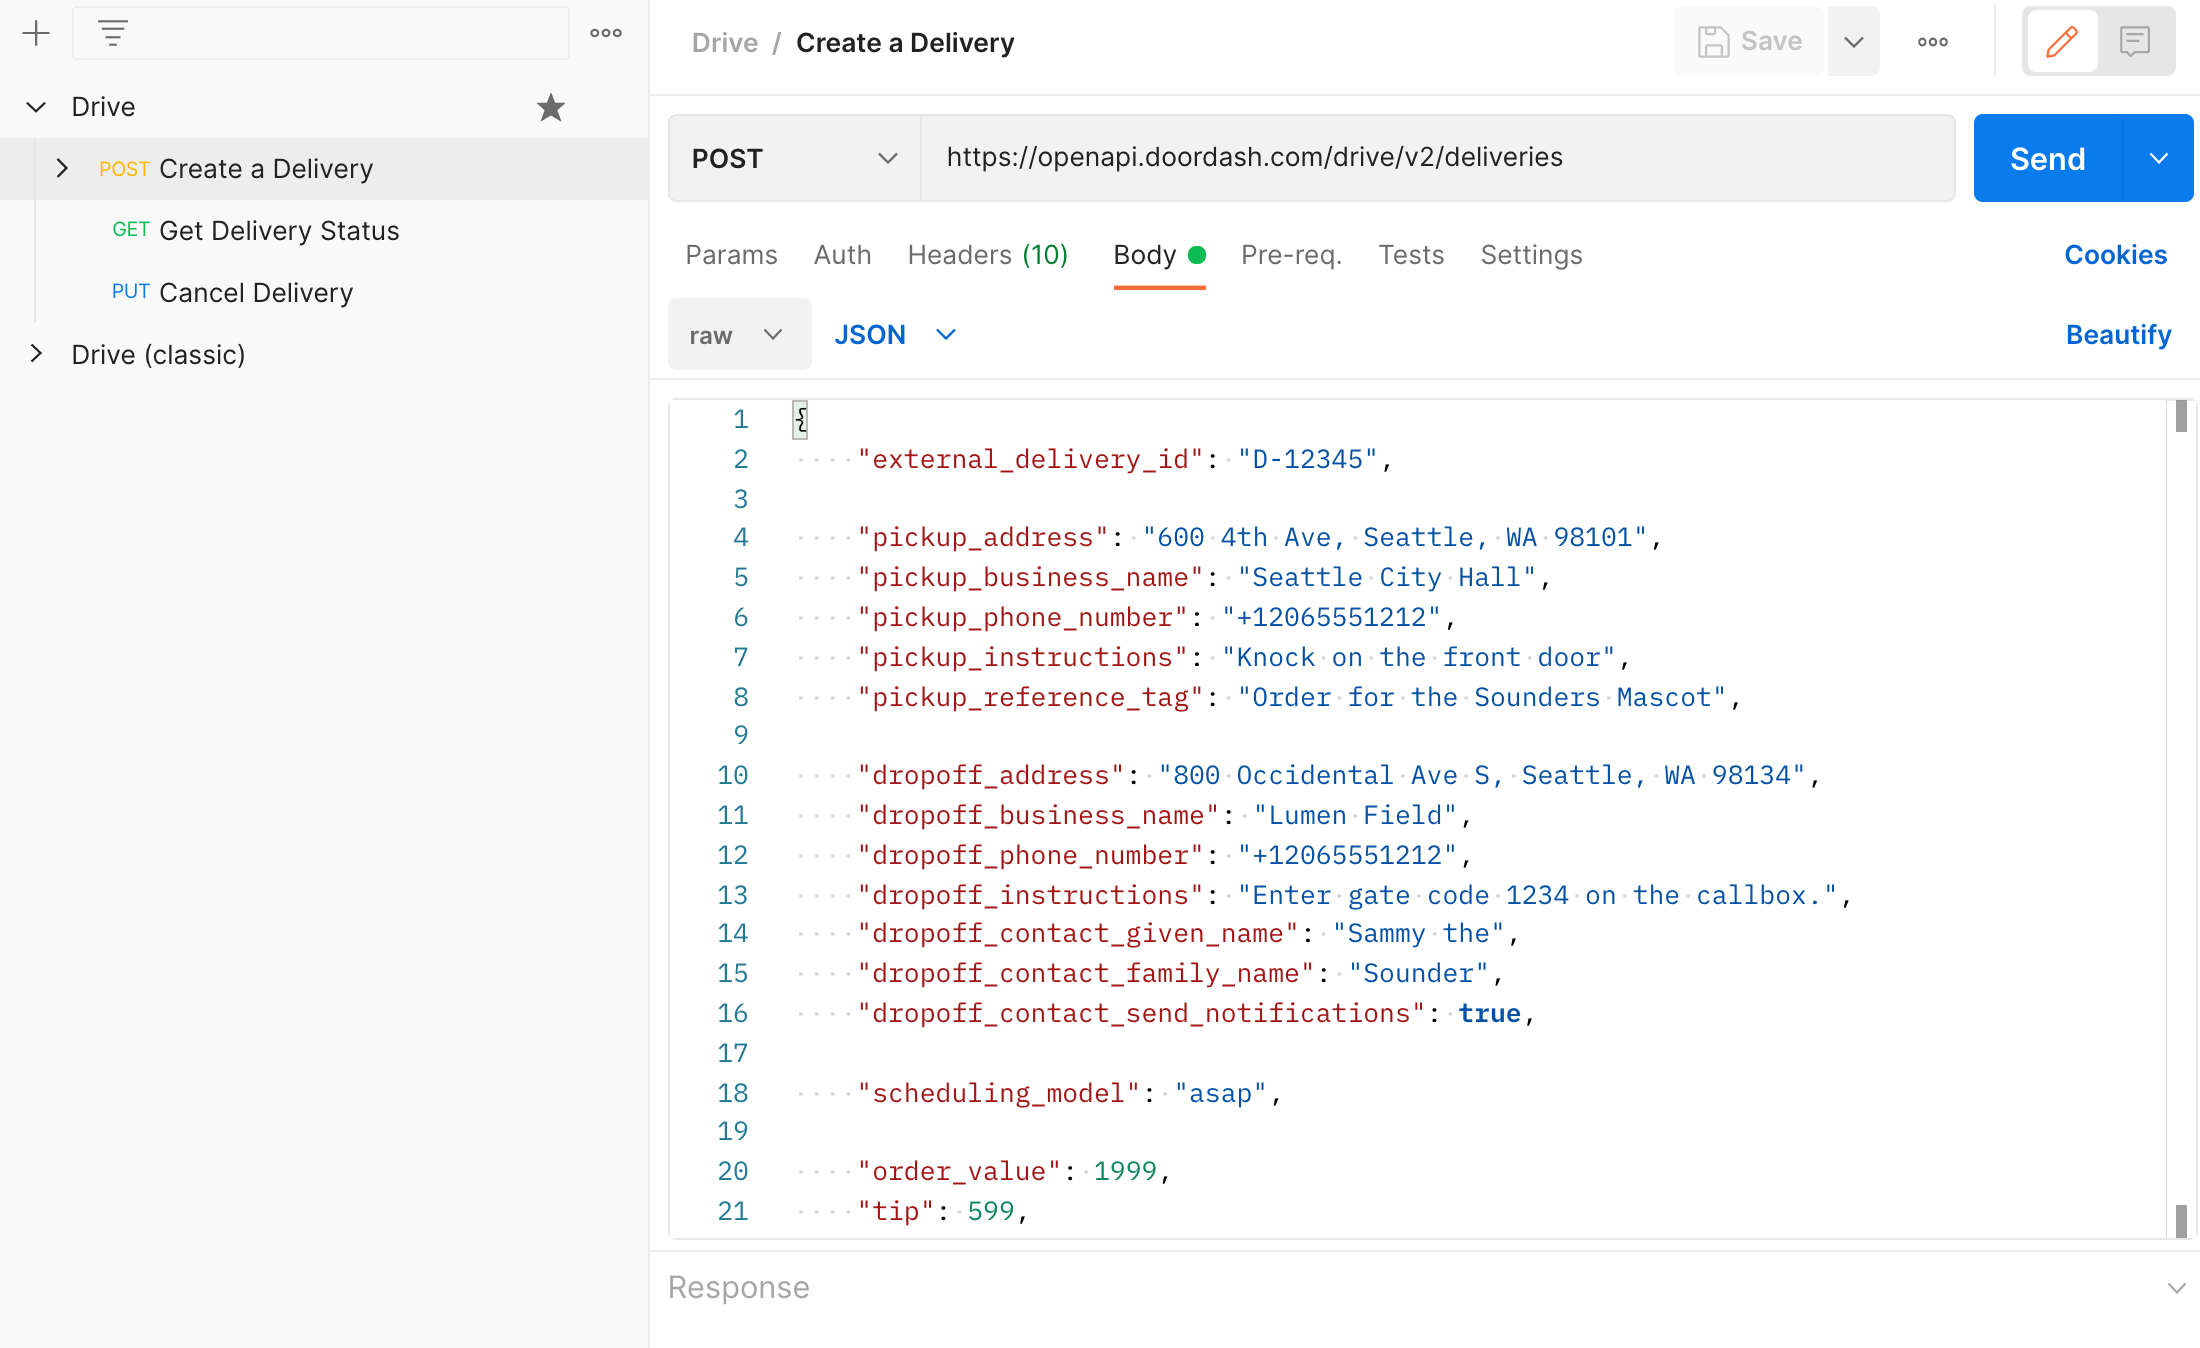
- Leverage new Drive API capabilities: update tip when accepting a quote, provide item-level details, specify what vehicle types are allowed for your deliveries, and require signature upon delivery.
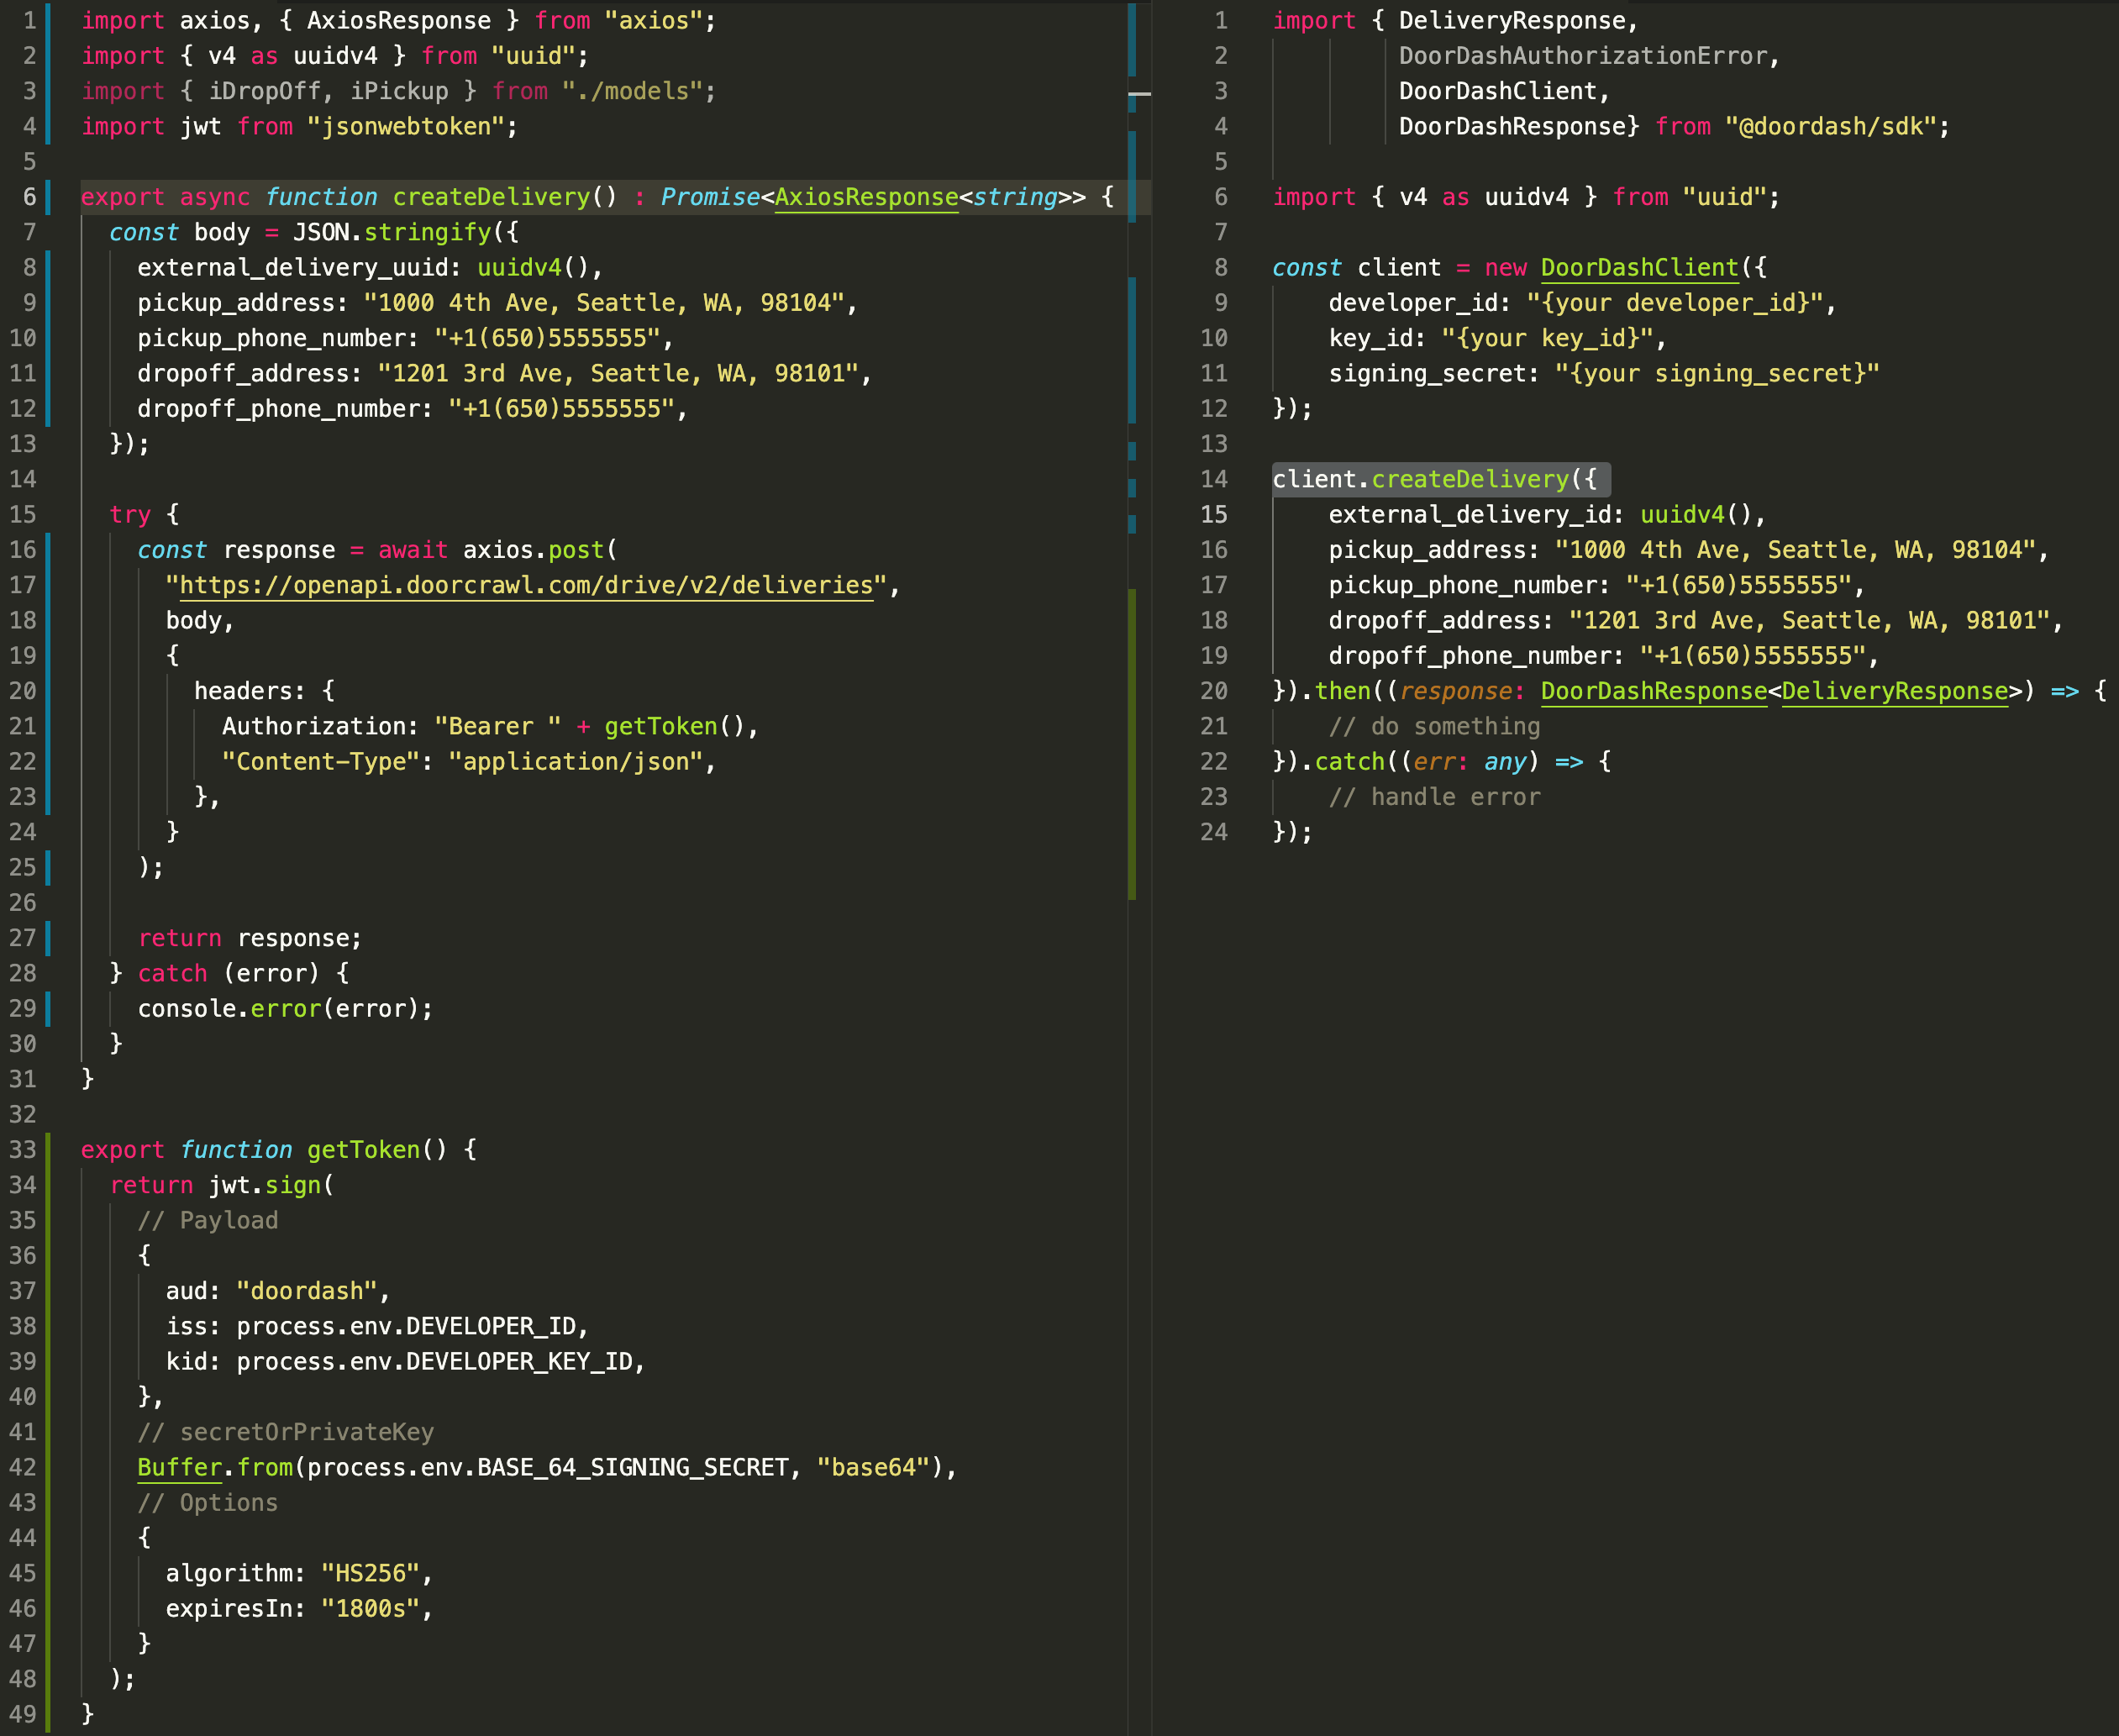
- Authenticate with the Drive APIs more easily with our new JWT utilities.
Configure SMS delivery updates
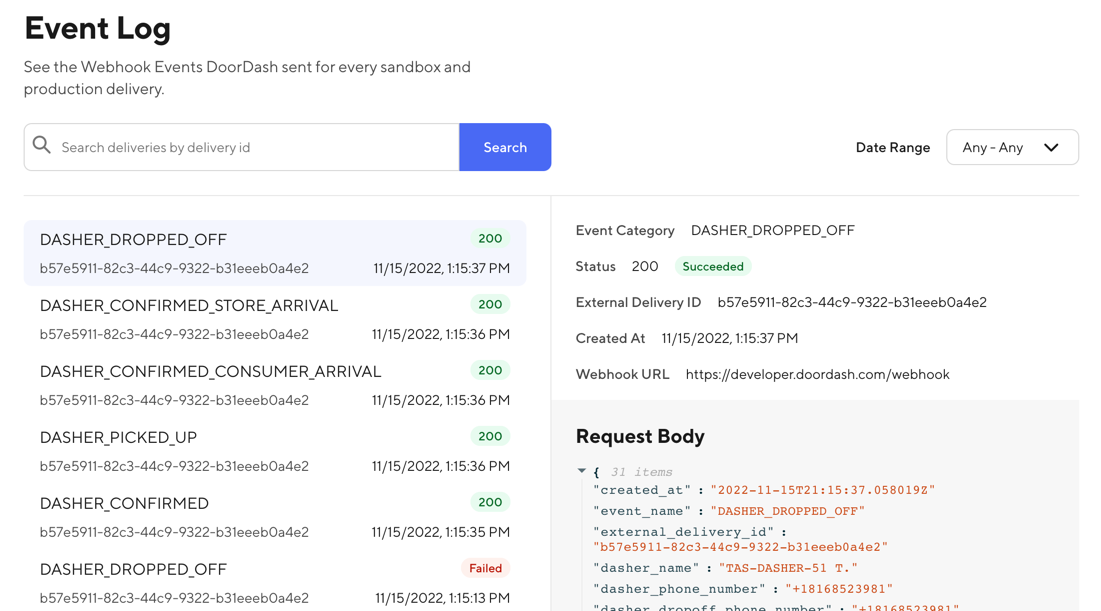
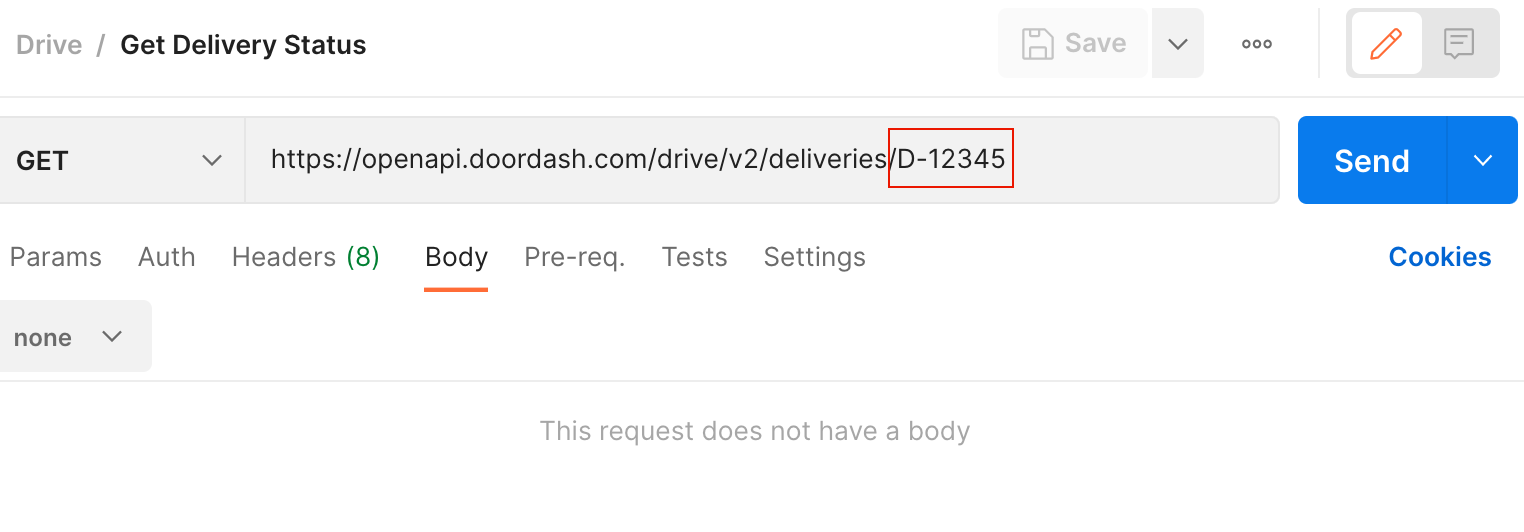
During the course of a delivery, customers receive automated SMS notifications about the Dasher’s progress. These texts include the tracking link returned in our response to delivery creation requests, as well as status updates as the Dasher picks up the items and arrives at the dropoff location.
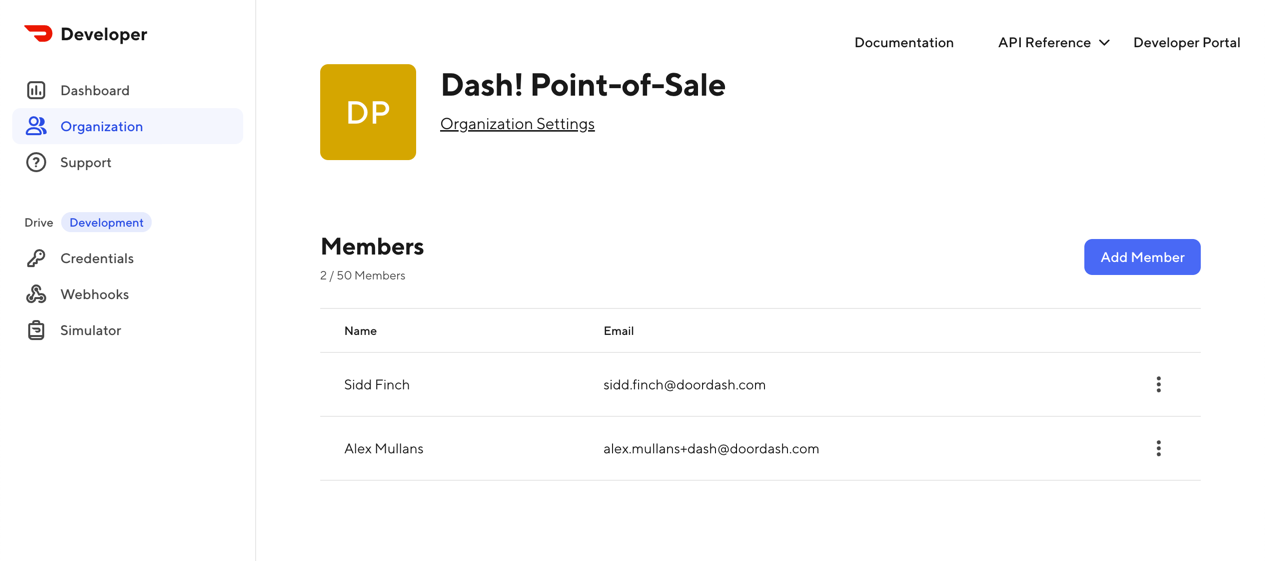
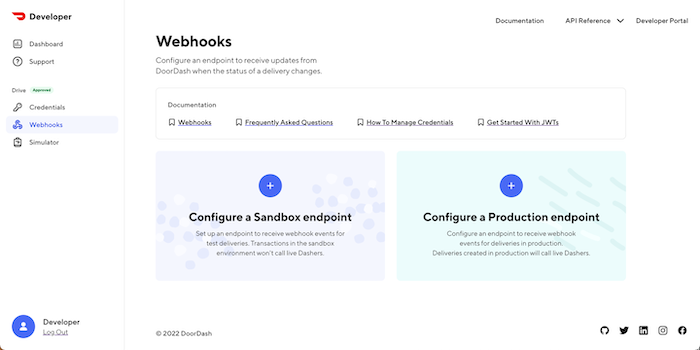
Depending on your business needs, you may wish to customize these SMS messages. The new Settings view in the Developer Portal allows you to do just that by controlling which SMS customers receive and the text for each message. In the case that you’re managing multiple businesses and/or stores, you’re also able to control SMS notifications at the business level, for both sandbox and production environments.
SMS message customization is just the first feature we’re introducing as part of the Settings view. Stay tuned as we roll out new features to give you greater control over your DoorDash integration and the delivery experience!
JWT utilities
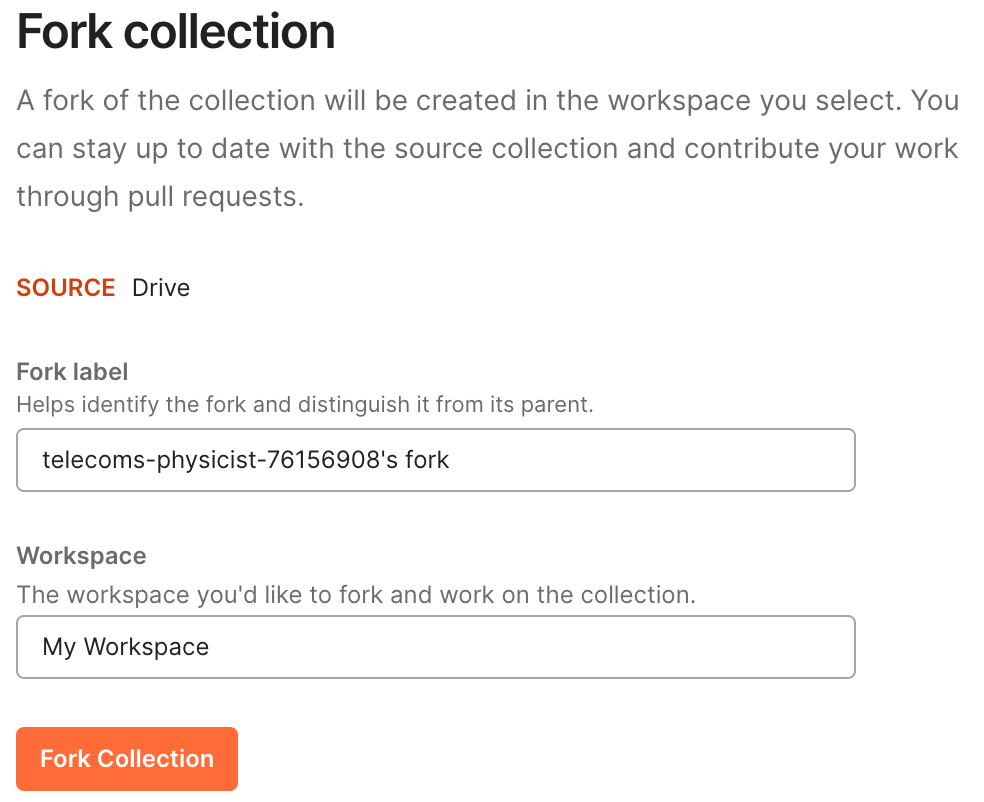
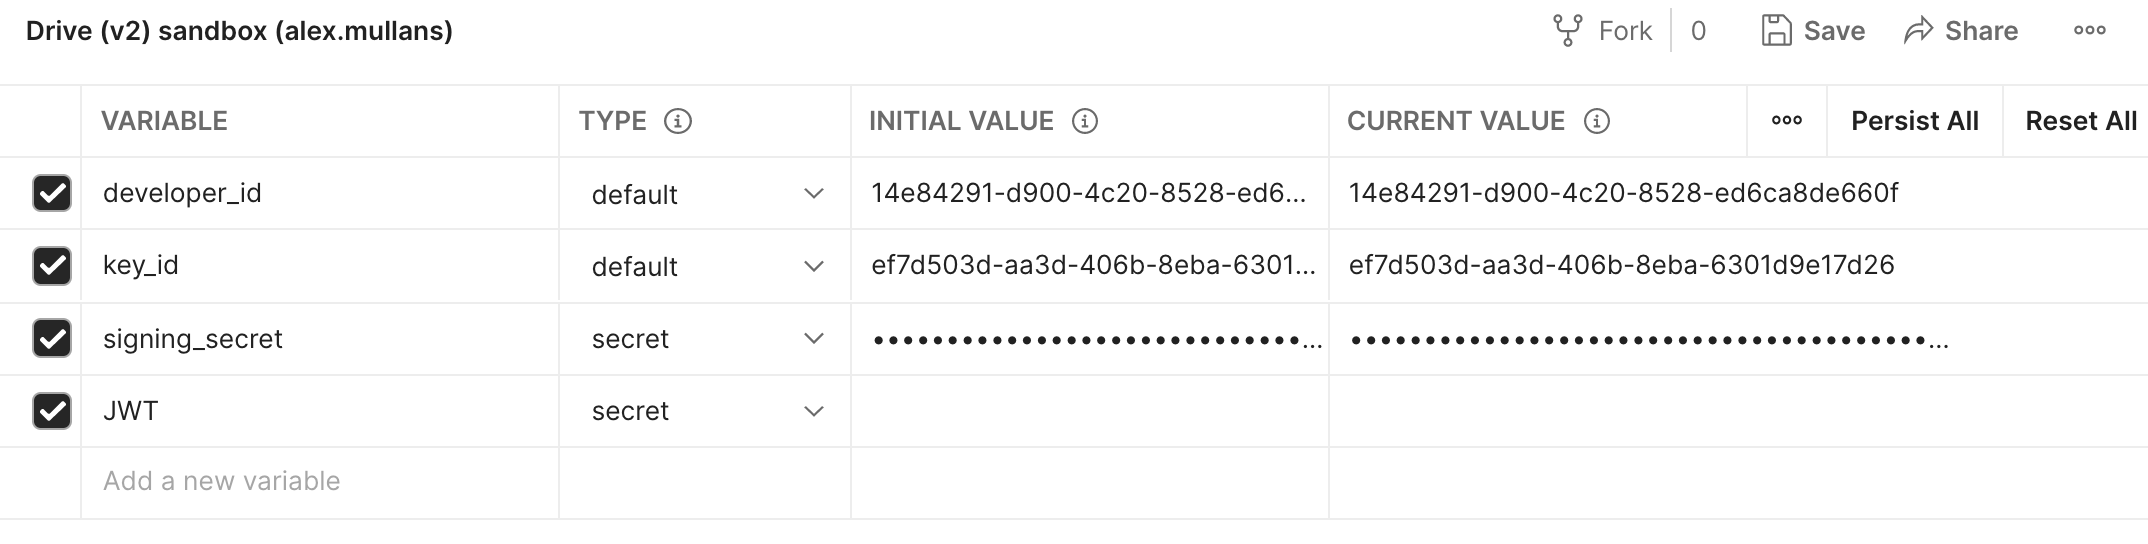
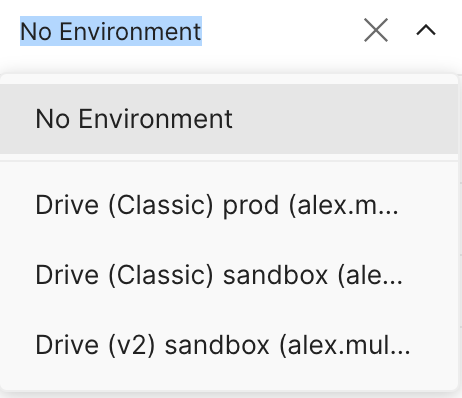
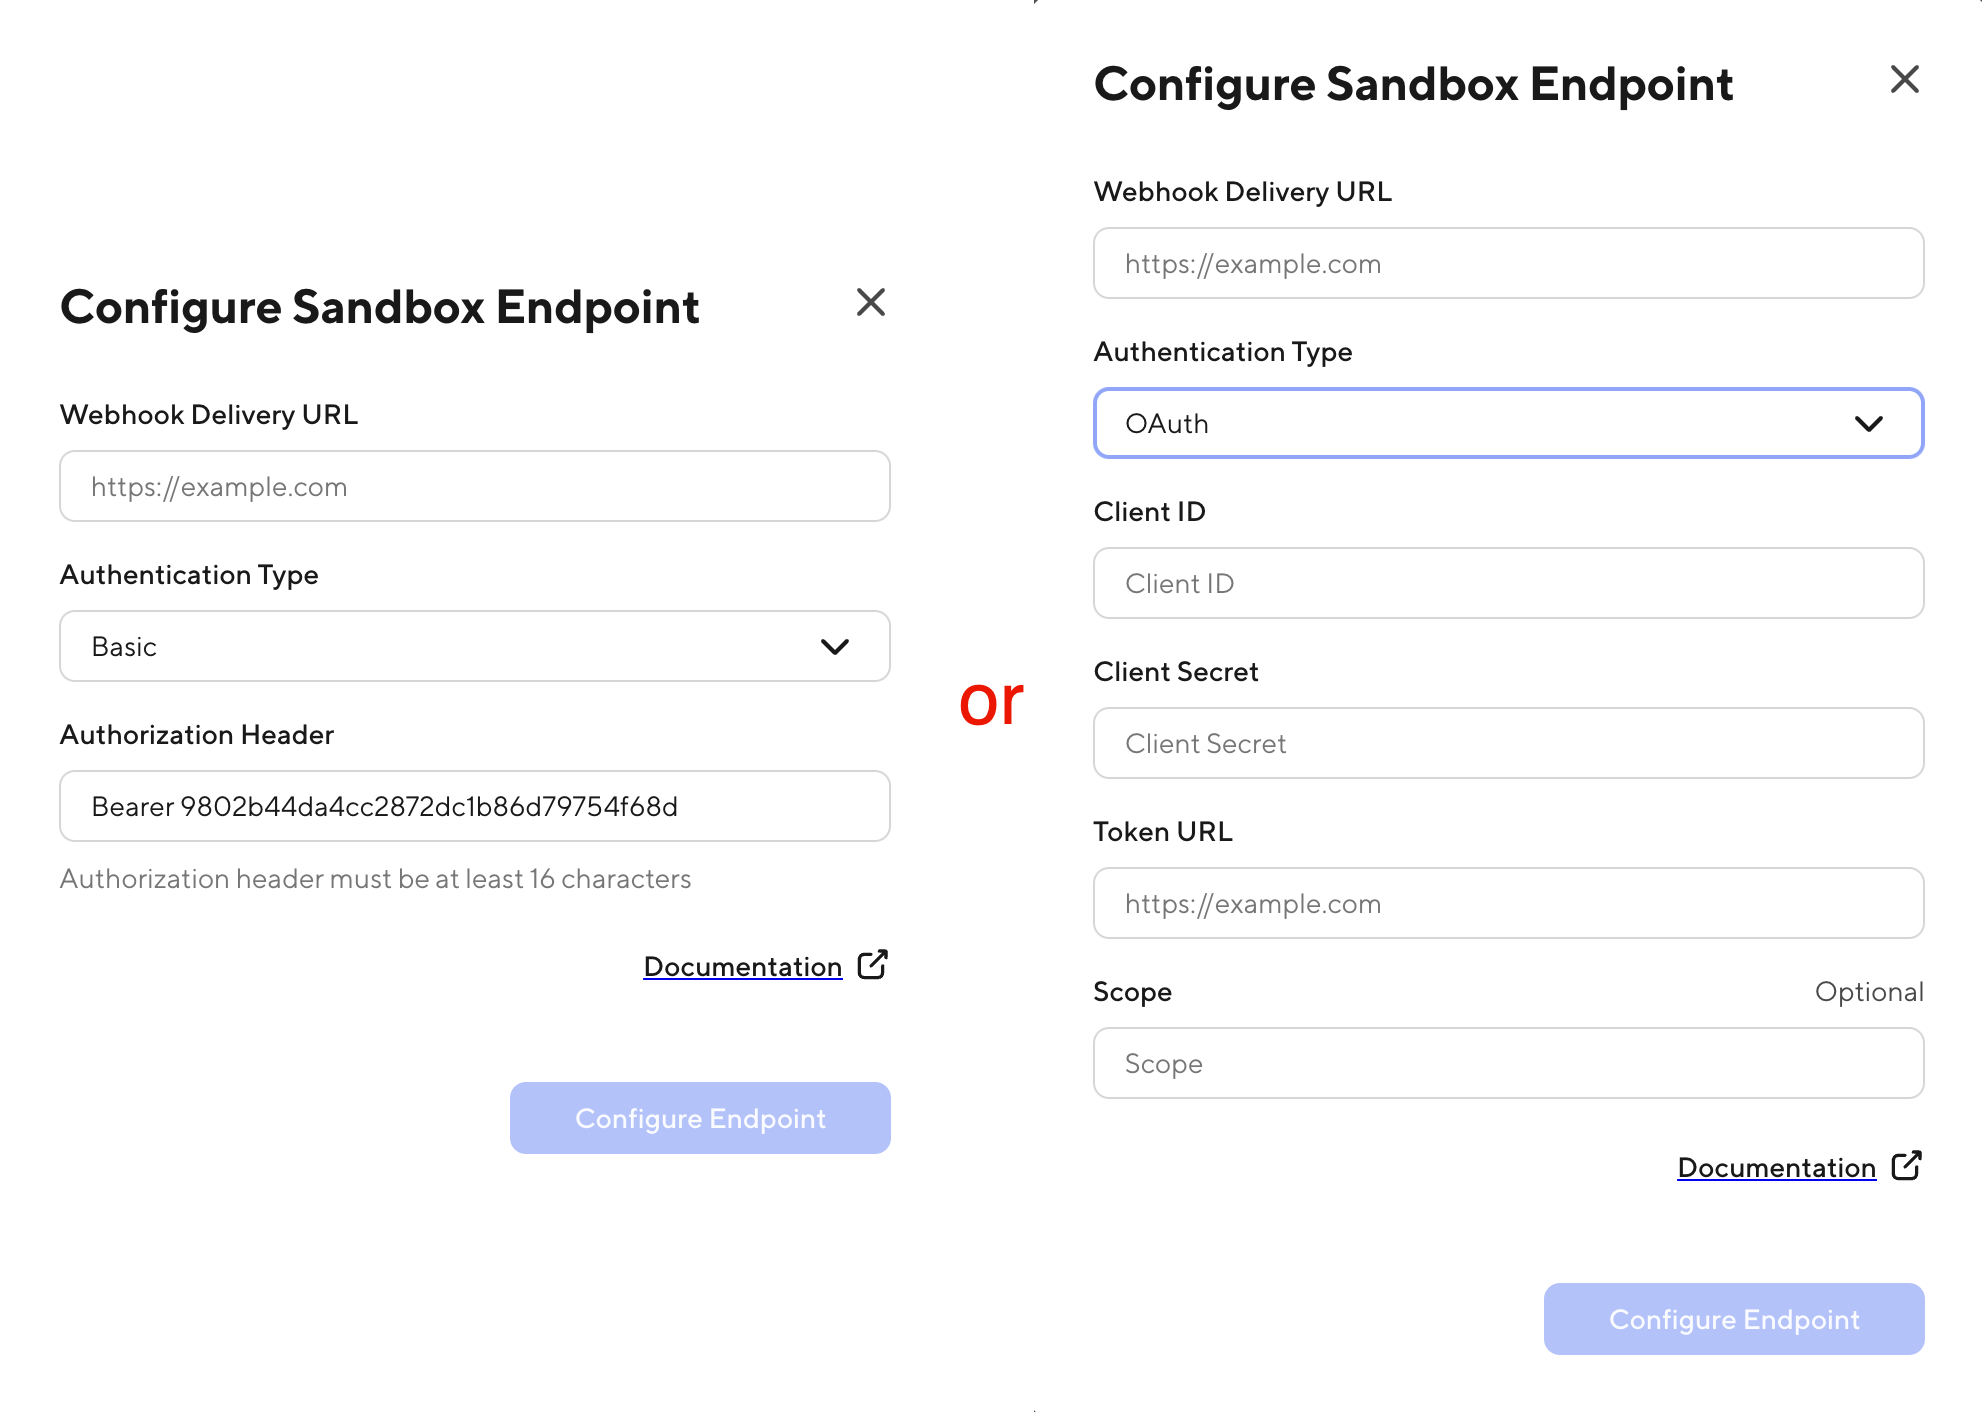
In order to communicate securely with DoorDash, your application must pass a JSON Web Token (JWT) to authenticate with our API. We've compiled a list of tools and resources to help your development team get started with JWTs.
Sample Applications on GitHub
You can download and clone sample applications that communicate with the DoorDash API from GitHub. Sample applications include Node.js, Python, PHP, Java, Kotlin, and C#/.NET.
Update tip when accepting a quote
By popular demand, we’ve updated the Drive API to allow tip to be updated when accepting a delivery quote. This is particularly useful in an e-commerce checkout experience where the customer may wish to get a delivery quote when they start their order, and then add a tip just before completing checkout.
Allowed vehicles
With the new dasher_allowed_vehicles field on the Drive API, you can now control the vehicle type(s) that a Dasher can use to complete your delivery. For example, as a laundry service moving large bags of clothes, you can specify that your deliveries should be handled by a Dasher in a car.
Item-level details
Provide added details about the items being delivered, such as price, for more accurate deliveries and refunds.