Generate your JWT Token
This tutorial will introduce you to the Reporting API, DoorDash's API for requesting operational and financial data.
Table of contents
- Sign into the Developer Portal
- Create an access key
- Install pre-requisites and create a project
- Make a JWT
Sign into the Developer Portal
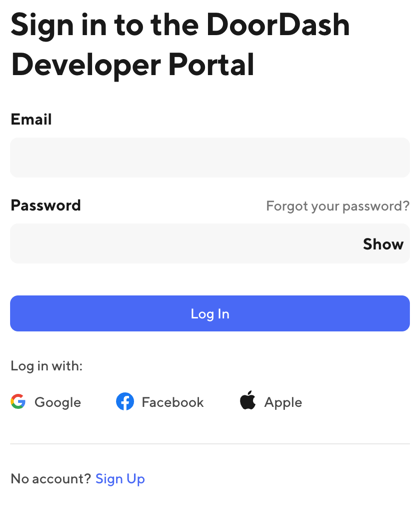
Go to the
Developer Portal
using the link in the top right corner of this page. If you already have a DoorDash account, enter your email and password and sign in; if not, or if you want to use a different account for development, click Sign Up and follow the process to create an account.
Create an access key
In the left navigation, click Credentials.
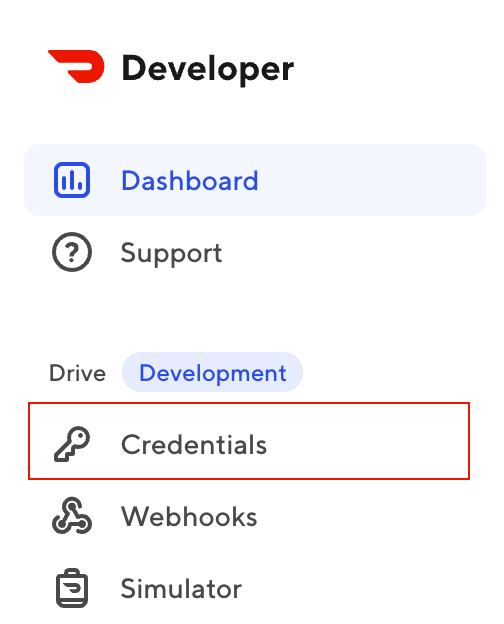
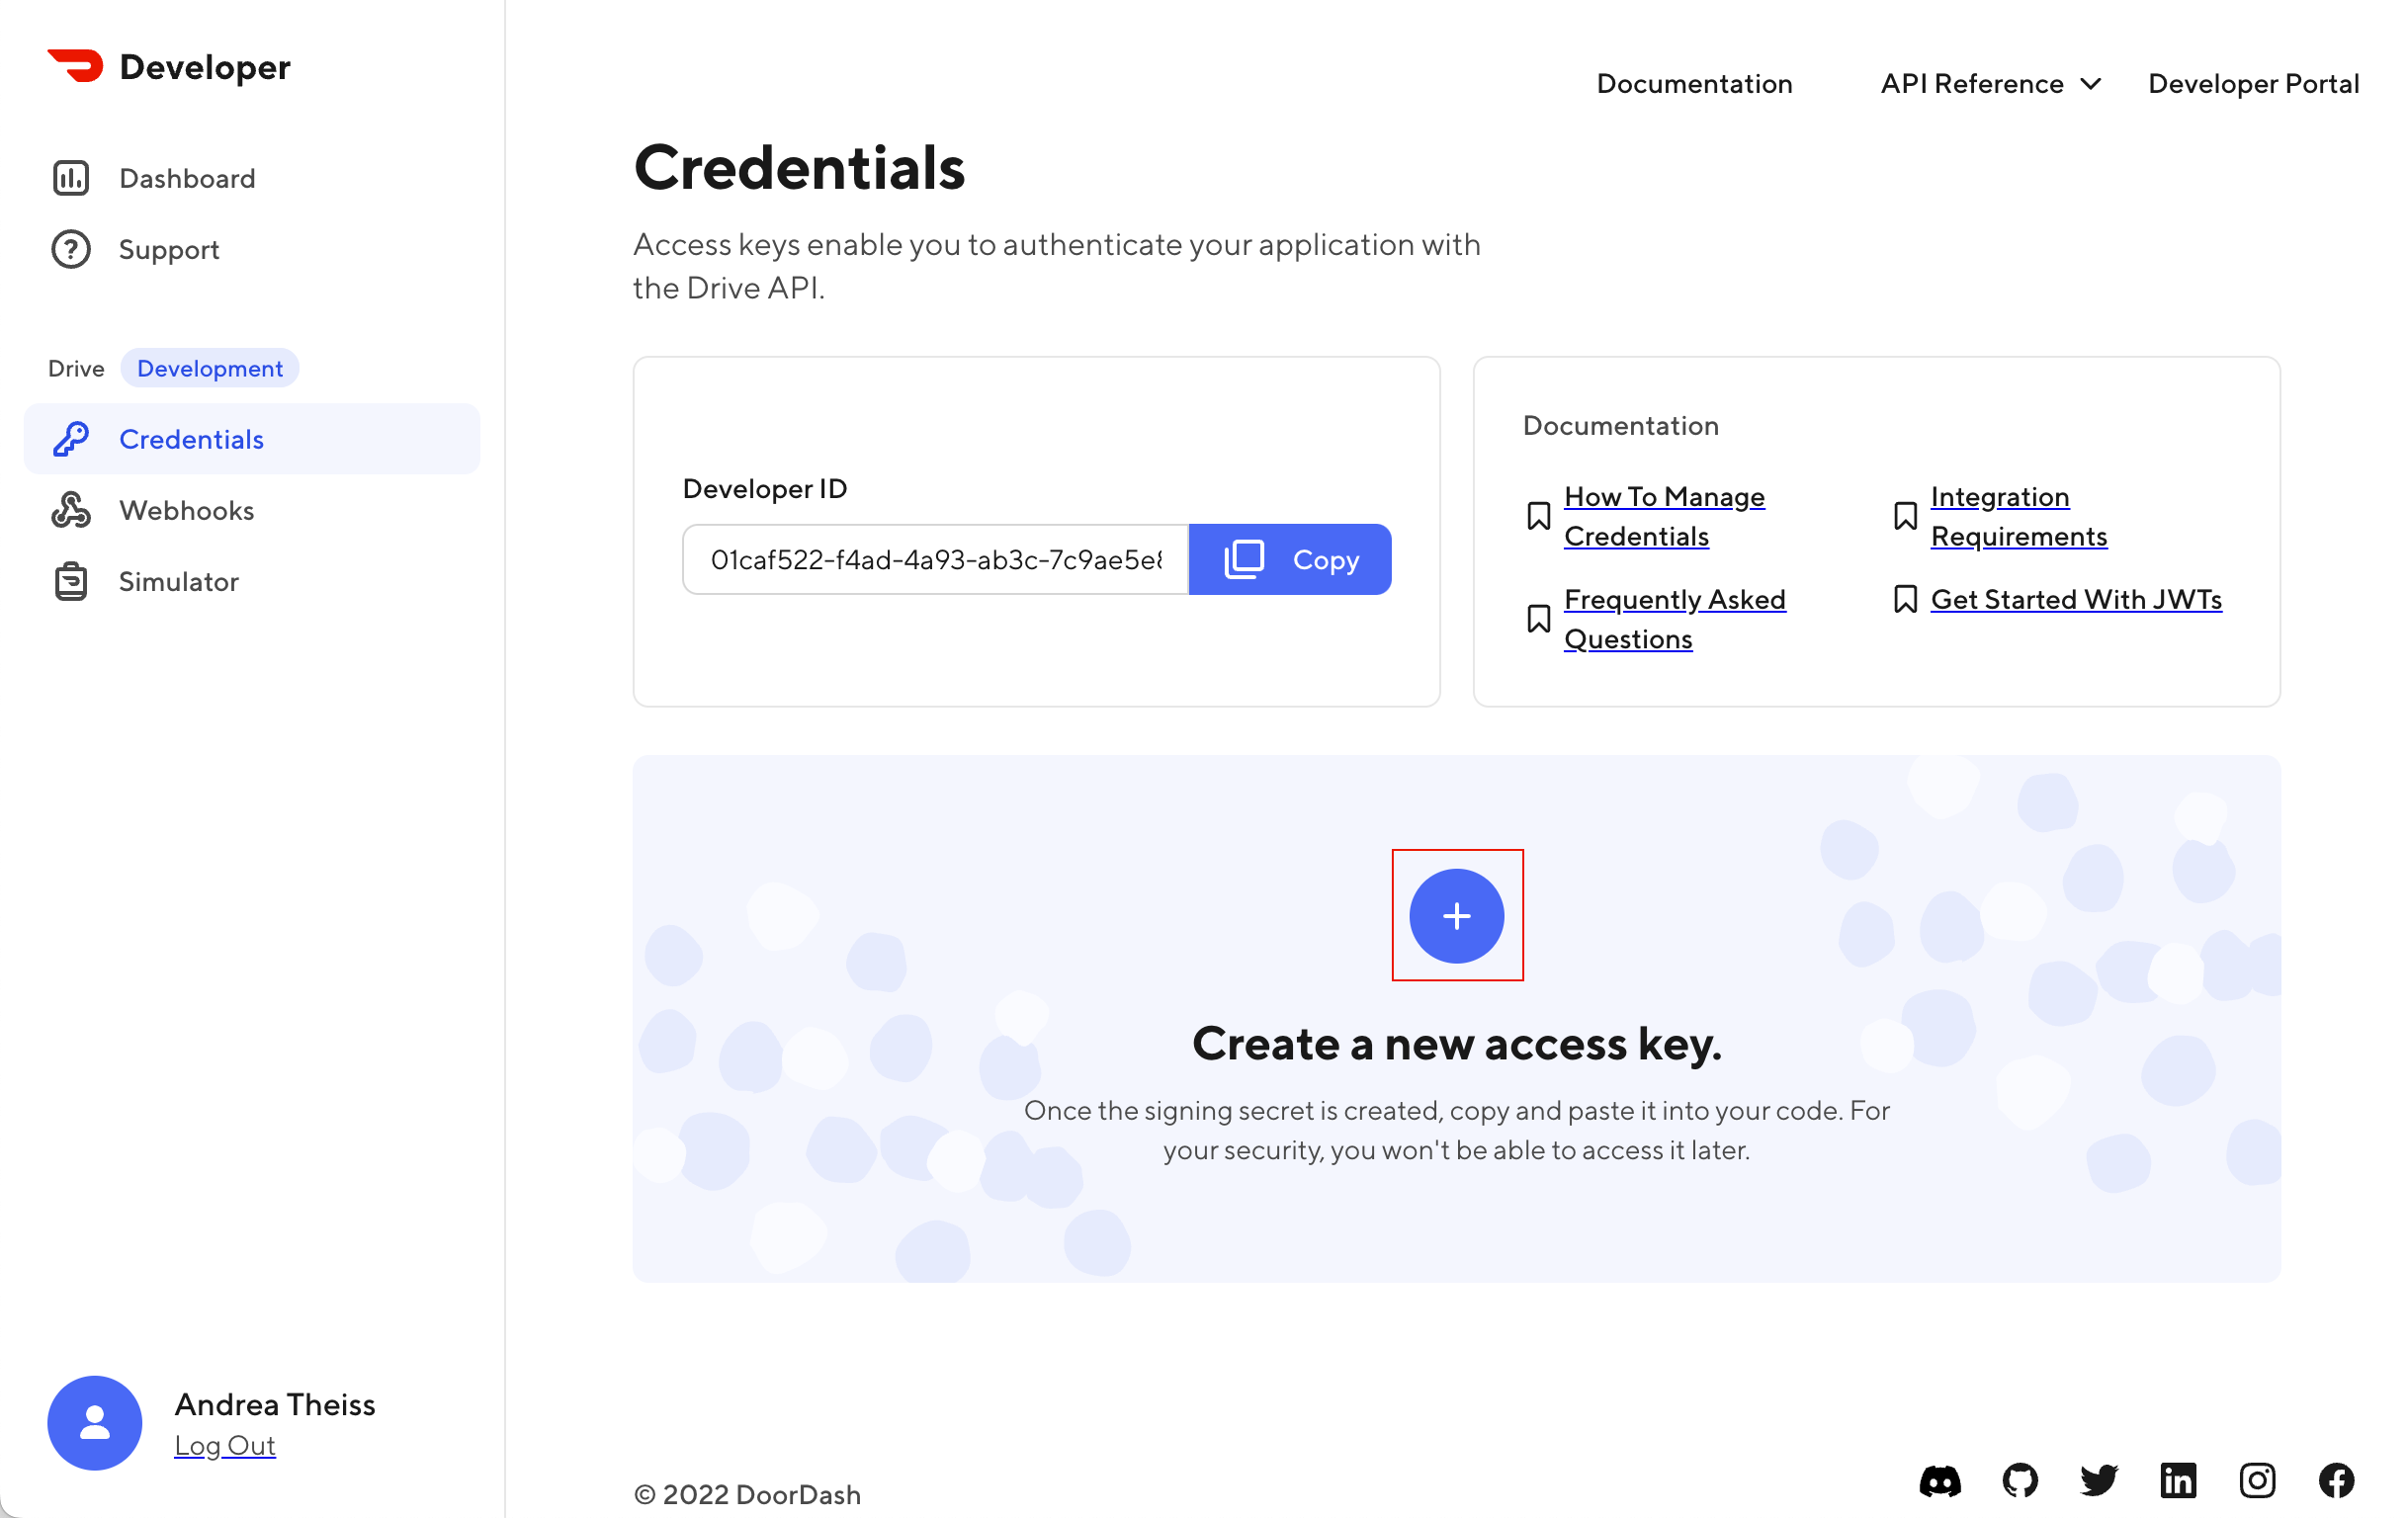
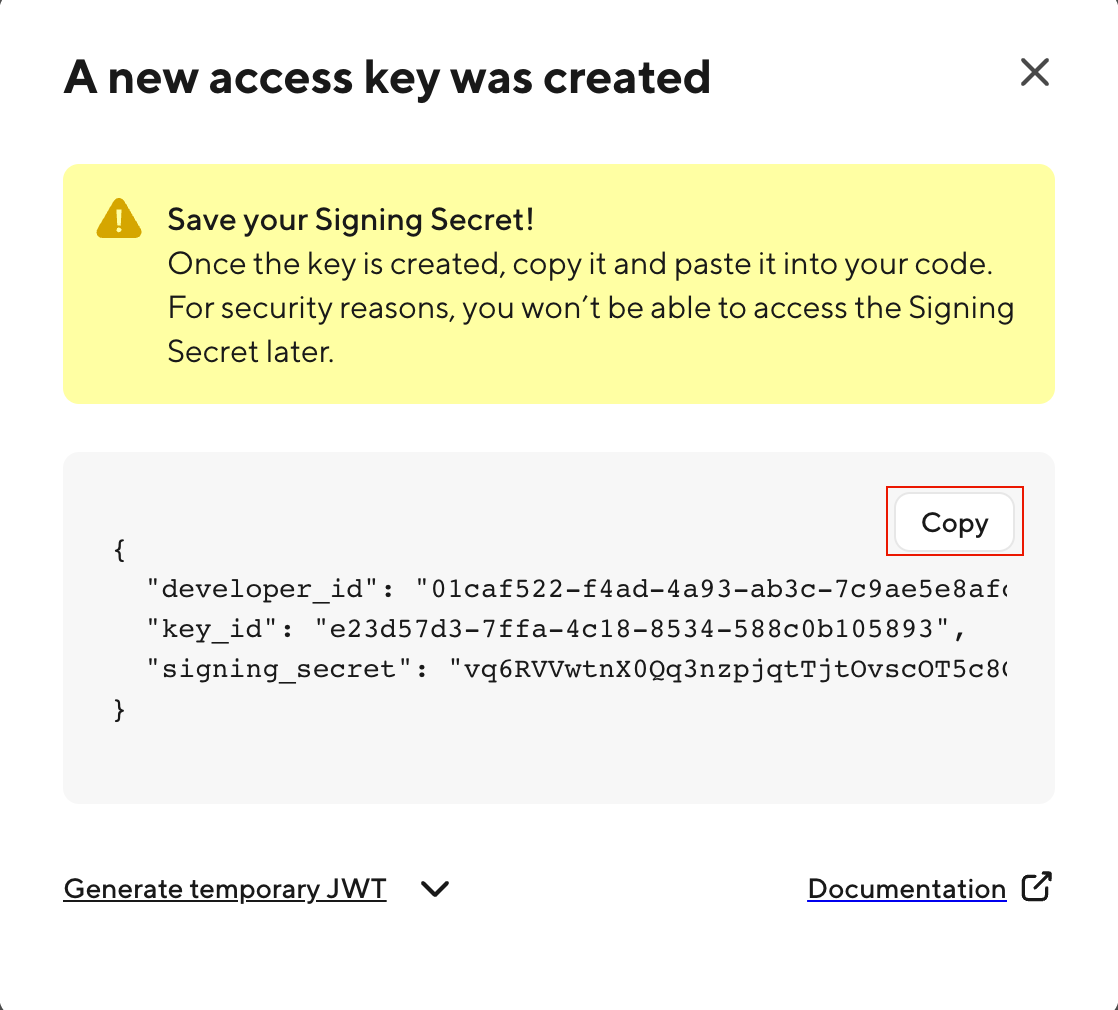
On the Credentials page, click the plus (+) icon in the center of the page to create a new access key. You'll use this access key to create a JSON Web Token (JWT) that you can use to make requests to the Drive API.
Name your key test-app and click Create Access Key.
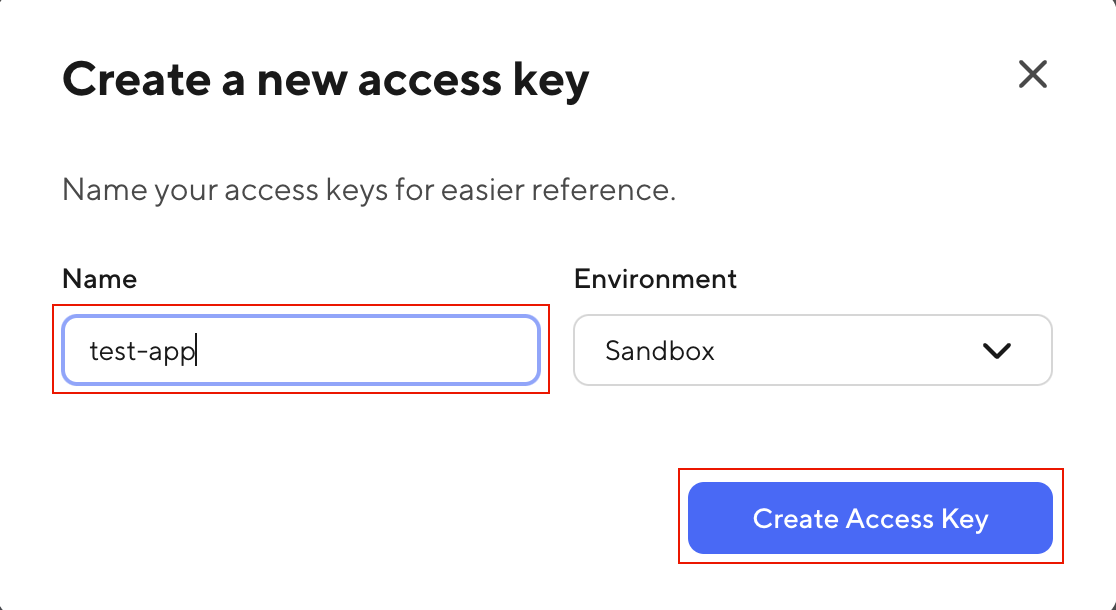
Click Copy to copy the access key to your clipboard and then paste it somewhere where you can access it later in the tutorial.
Install pre-requisites and create a project
- Node.js
- Python
- PHP
- Kotlin
- C#
If you don't already have them, install Node.js and npm.
Then, create a directory for your project called test-app and then create a new file named app.js.
If you don't already have it, install Python.
Then, create a directory for your project called test-app and then create a new file named app.py.
If you don't already have it, install PHP.
Then, create a directory called test-app and then create a new file named doordash.php.
If you don't already have them, install Kotlin, a JDK (such as Amazon Corretto 17), and a build automation tool (such as Gradle).
Then, create a new project in your IDE (such as IntelliJ IDEA) and modify the Main.kt file with sample code below.
If you don't already have it, install .NET.
Create a directory for your project called test-app and then run dotnet new console. Alternatively, you can create, build, and run your sample application in variety of IDEs, including Visual Studio Code, Visual Studio, and JetBrains Rider.
Make a JWT
Prerequisites
Before getting started, ensure you have created and saved an access key from the Developer Portal.
To continue, you will need: developer_id, key_id and signing_secret
Install a JWT library
Most programming languages provide support for creating JSON Web Tokens (JWTs) either directly in the language or as a package. Select your language and then follow the instructions to install the package, if needed.
- Node.js
- Python
- PHP
- Java
- Kotlin
- C#
Open a terminal and navigate to your project directory, then run:
npm install jsonwebtoken
Open a terminal and navigate to your project directory, then run:
pip3 install pyjwt
PHP supports JWTs without any additional packages; head to the next step!
Copy this snippet into your build.gradle file:
dependencies {
    implementation("io.jsonwebtoken:jjwt-api:0.11.1")
    implementation("io.jsonwebtoken:jjwt-impl:0.11.1")
    implementation("io.jsonwebtoken:jjwt-jackson:0.11.1")
}
Copy this snippet into your build.gradle.kts file:
dependencies {
    implementation("io.jsonwebtoken:jjwt-api:0.11.5")
    implementation("io.jsonwebtoken:jjwt-impl:0.11.5")
    implementation("io.jsonwebtoken:jjwt-jackson:0.11.5")
}
To use these dependencies, you'll need to target at least version 11 of a JDK. For example, if targeting Amazon Corretto 17 then update build.gradle.kts file section to:
kotlin {
    jvmToolchain(17)
}
Open a terminal and navigate to your project directory, then run:
dotnet add package System.IdentityModel.Tokens.Jwt
Generate a JWT
JWTs are created using an access key. Use these code snippets to generate a correctly-formatted JWT from your access key.
- Node.js
- Python
- PHP
- Java
- Kotlin
- C#
Copy the code snippet below into your project file. Replace PASTE_YOUR_ACCESS_KEY_HERE with your access key.
const jwt = require('jsonwebtoken')

const accessKey = PASTE_YOUR_ACCESS_KEY_HERE

const data = {
  aud: 'doordash',
  iss: accessKey.developer_id,
  kid: accessKey.key_id,
  exp: Math.floor(Date.now() / 1000 + 300),
  iat: Math.floor(Date.now() / 1000),
}

const headers = { algorithm: 'HS256', header: { 'dd-ver': 'DD-JWT-V1' } }

const token = jwt.sign(
  data,
  Buffer.from(accessKey.signing_secret, 'base64'),
  headers,
)

console.log(token)
Then, test your code. In your terminal, run:
node app.js
If you were successful, you should see output like this:

Copy the code snippet below into your project file. Replace PASTE_YOUR_ACCESS_KEY_HERE with your access key.
from os import access
import jwt.utils
import time
import math

accessKey = PASTE_YOUR_ACCESS_KEY_HERE

token = jwt.encode(
    {
        "aud": "doordash",
        "iss": accessKey["developer_id"],
        "kid": accessKey["key_id"],
        "exp": str(math.floor(time.time() + 300)),
        "iat": str(math.floor(time.time())),
    },
    jwt.utils.base64url_decode(accessKey["signing_secret"]),
    algorithm="HS256",
    headers={"dd-ver": "DD-JWT-V1"})

print(token)
Then, test your code. In your terminal, run:
python3 app.py
If you were successful, you should see output like this:

function base64UrlEncode(string $data): string
{
    $base64Url = strtr(base64_encode($data), '+/', '-_');

    return rtrim($base64Url, '=');
}

function base64UrlDecode(string $base64Url): string
{
    return base64_decode(strtr($base64Url, '-_', '+/'));
}

$header = json_encode([
    'alg' => 'HS256',
    'typ' => 'JWT',
    'dd-ver' => 'DD-JWT-V1'
]);

$payload = json_encode([
    'aud' => 'doordash',
    'iss' => '{developer_id}',
    'kid' => '{key_id}',
    'exp' => time() + 300,
    'iat' => time()
]);

$base64UrlHeader = base64UrlEncode($header);
$base64UrlPayload = base64UrlEncode($payload);

$signature = hash_hmac('sha256', $base64UrlHeader . "." . $base64UrlPayload, base64UrlDecode({signing_secret}), true);
$base64UrlSignature = base64UrlEncode($signature);

$jwt = $base64UrlHeader . "." . $base64UrlPayload . "." . $base64UrlSignature;
import io.jsonwebtoken.Jwts;
import io.jsonwebtoken.io.Decoders;
import io.jsonwebtoken.security.Keys;
import java.security.Key;
import java.time.ZoneOffset;
import java.time.ZonedDateTime;
import java.util.HashMap;

public class main {
    public static void main(String[] args) {
        Map<String, Object> claims = new HashMap<>();

        // Replace the three constants below with the credentials generated from the DoorDash Developer portal
        claims.put("iss", "{developer_id}");
        claims.put("kid", "{key_id}");
        byte[] keyBytes = Decoders.BASE64URL.decode("{signing_secret}");

        claims.put("aud", "doordash");

        // Set token expiry to be one minute
        claims.put("exp", ZonedDateTime.now(ZoneOffset.UTC).plusMinutes(5).toEpochSecond());
        claims.put("iat", ZonedDateTime.now(ZoneOffset.UTC).toEpochSecond());

        Key key = Keys.hmacShaKeyFor(keyBytes);

        String jwt = Jwts.builder()
                .setHeaderParam("dd-ver", "DD-JWT-V1")
                .setHeaderParam("typ", "JWT")
                .setClaims(claims)
                .signWith(key)
                .compact();

        System.out.println(jwt);
    }
}
import io.jsonwebtoken.Jwts
import io.jsonwebtoken.io.Decoders
import io.jsonwebtoken.security.Keys
import java.security.Key
import java.time.ZoneOffset
import java.time.ZonedDateTime
import kotlin.collections.HashMap

val claims = HashMap<String, Any?>();

claims["aud"] = "doordash";
claims["iss"] = "{developer_id}";
claims["kid"] = "{key_id}";
claims["exp"] = ZonedDateTime.now(ZoneOffset.UTC).plusMinutes(5).toEpochSecond()
claims["iat"] = ZonedDateTime.now(ZoneOffset.UTC).toEpochSecond();

val keyBytes = Decoders.BASE64URL.decode("{signing_secret}")
val key: Key = Keys.hmacShaKeyFor(keyBytes)

val jwt: String = Jwts.builder()
    .setHeaderParam("dd-ver", "DD-JWT-V1")
    .setHeaderParam("typ", "JWT")
    .setClaims(claims)
    .signWith(key)
    .compact();
Copy the code snippet below into your project file. In the accessKey dictionary, replace the placeholder values with values from your access key.
using Microsoft.IdentityModel.Tokens;
using System.IdentityModel.Tokens.Jwt;
using System.Security.Claims;

var accessKey = new Dictionary<string, string>{
  {"developer_id", "PLACEHOLDER"},
  {"key_id", "PLACEHOLDER"},
  {"signing_secret", "PLACEHOLDER"}
};

var decodedSecret = Base64UrlEncoder.DecodeBytes(accessKey["signing_secret"]);
var securityKey = new SymmetricSecurityKey(decodedSecret);
var credentials = new SigningCredentials(securityKey, SecurityAlgorithms.HmacSha256);
var header = new JwtHeader(credentials);
header["dd-ver"] = "DD-JWT-V1";

var payload = new JwtPayload(
    issuer: accessKey["developer_id"],
    audience: "doordash",
    claims: new List<Claim> { new Claim("kid", accessKey["key_id"]) },
    notBefore: null,
    expires: System.DateTime.UtcNow.AddSeconds(300),
    issuedAt: System.DateTime.UtcNow);

var securityToken = new JwtSecurityToken(header, payload);
var token = new JwtSecurityTokenHandler().WriteToken(securityToken);

Console.WriteLine(token);
Then, test your code. In your terminal, run:
dotnet run
If you were successful, you should see output like this:
