Get started (Node.js SDK)
Production access to the Drive API is currently restricted, and we cannot provide a timeline for certification following development. If you have not completed development and submitted a production access request, we recommend pausing development. Contact us here to record your interest.
This tutorial will introduce you to the Drive API, DoorDash's API for requesting deliveries fulfilled by our fleet of Dashers, and to the DoorDash Node.js SDK. It assumes you're familiar with Javascript and Node.js and that you've installed Node.js and npm. If you're using a language other than Javascript, you should use the Get started (API) tutorial instead.
A video tutorial is also available that demonstrates creating a sample application with the Node.js SDK:
Table of contents
- Sign into the Developer Portal
- Create an access key
- Create a project
- Create a delivery
- Use the Delivery Simulator
- Get the status of your delivery
- Finish up
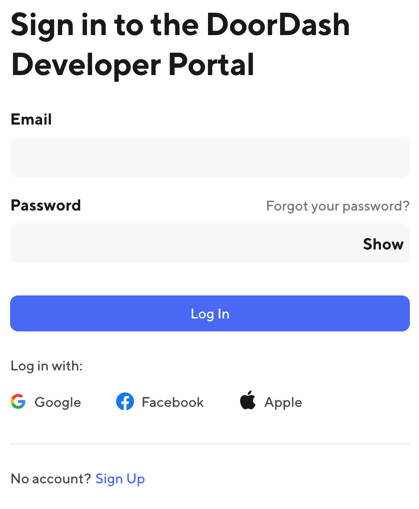
Sign into the Developer Portal
Go to the
Developer Portal
using the link in the top right corner of this page. If you already have a DoorDash account, enter your email and password and sign in; if not, or if you want to use a different account for development, click Sign Up and follow the process to create an account.
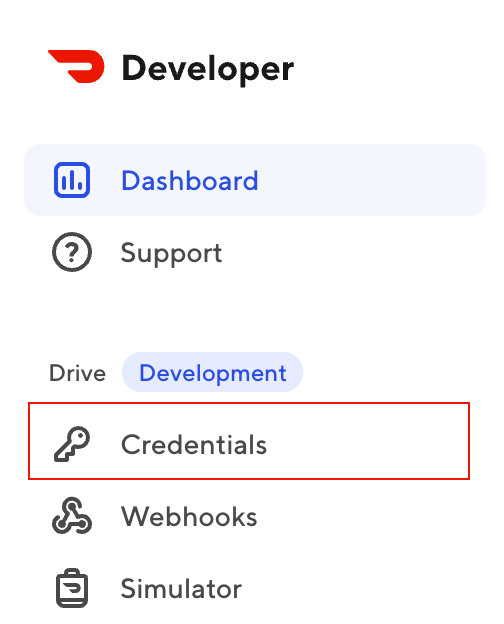
Create an access key
In the left navigation, click Credentials.
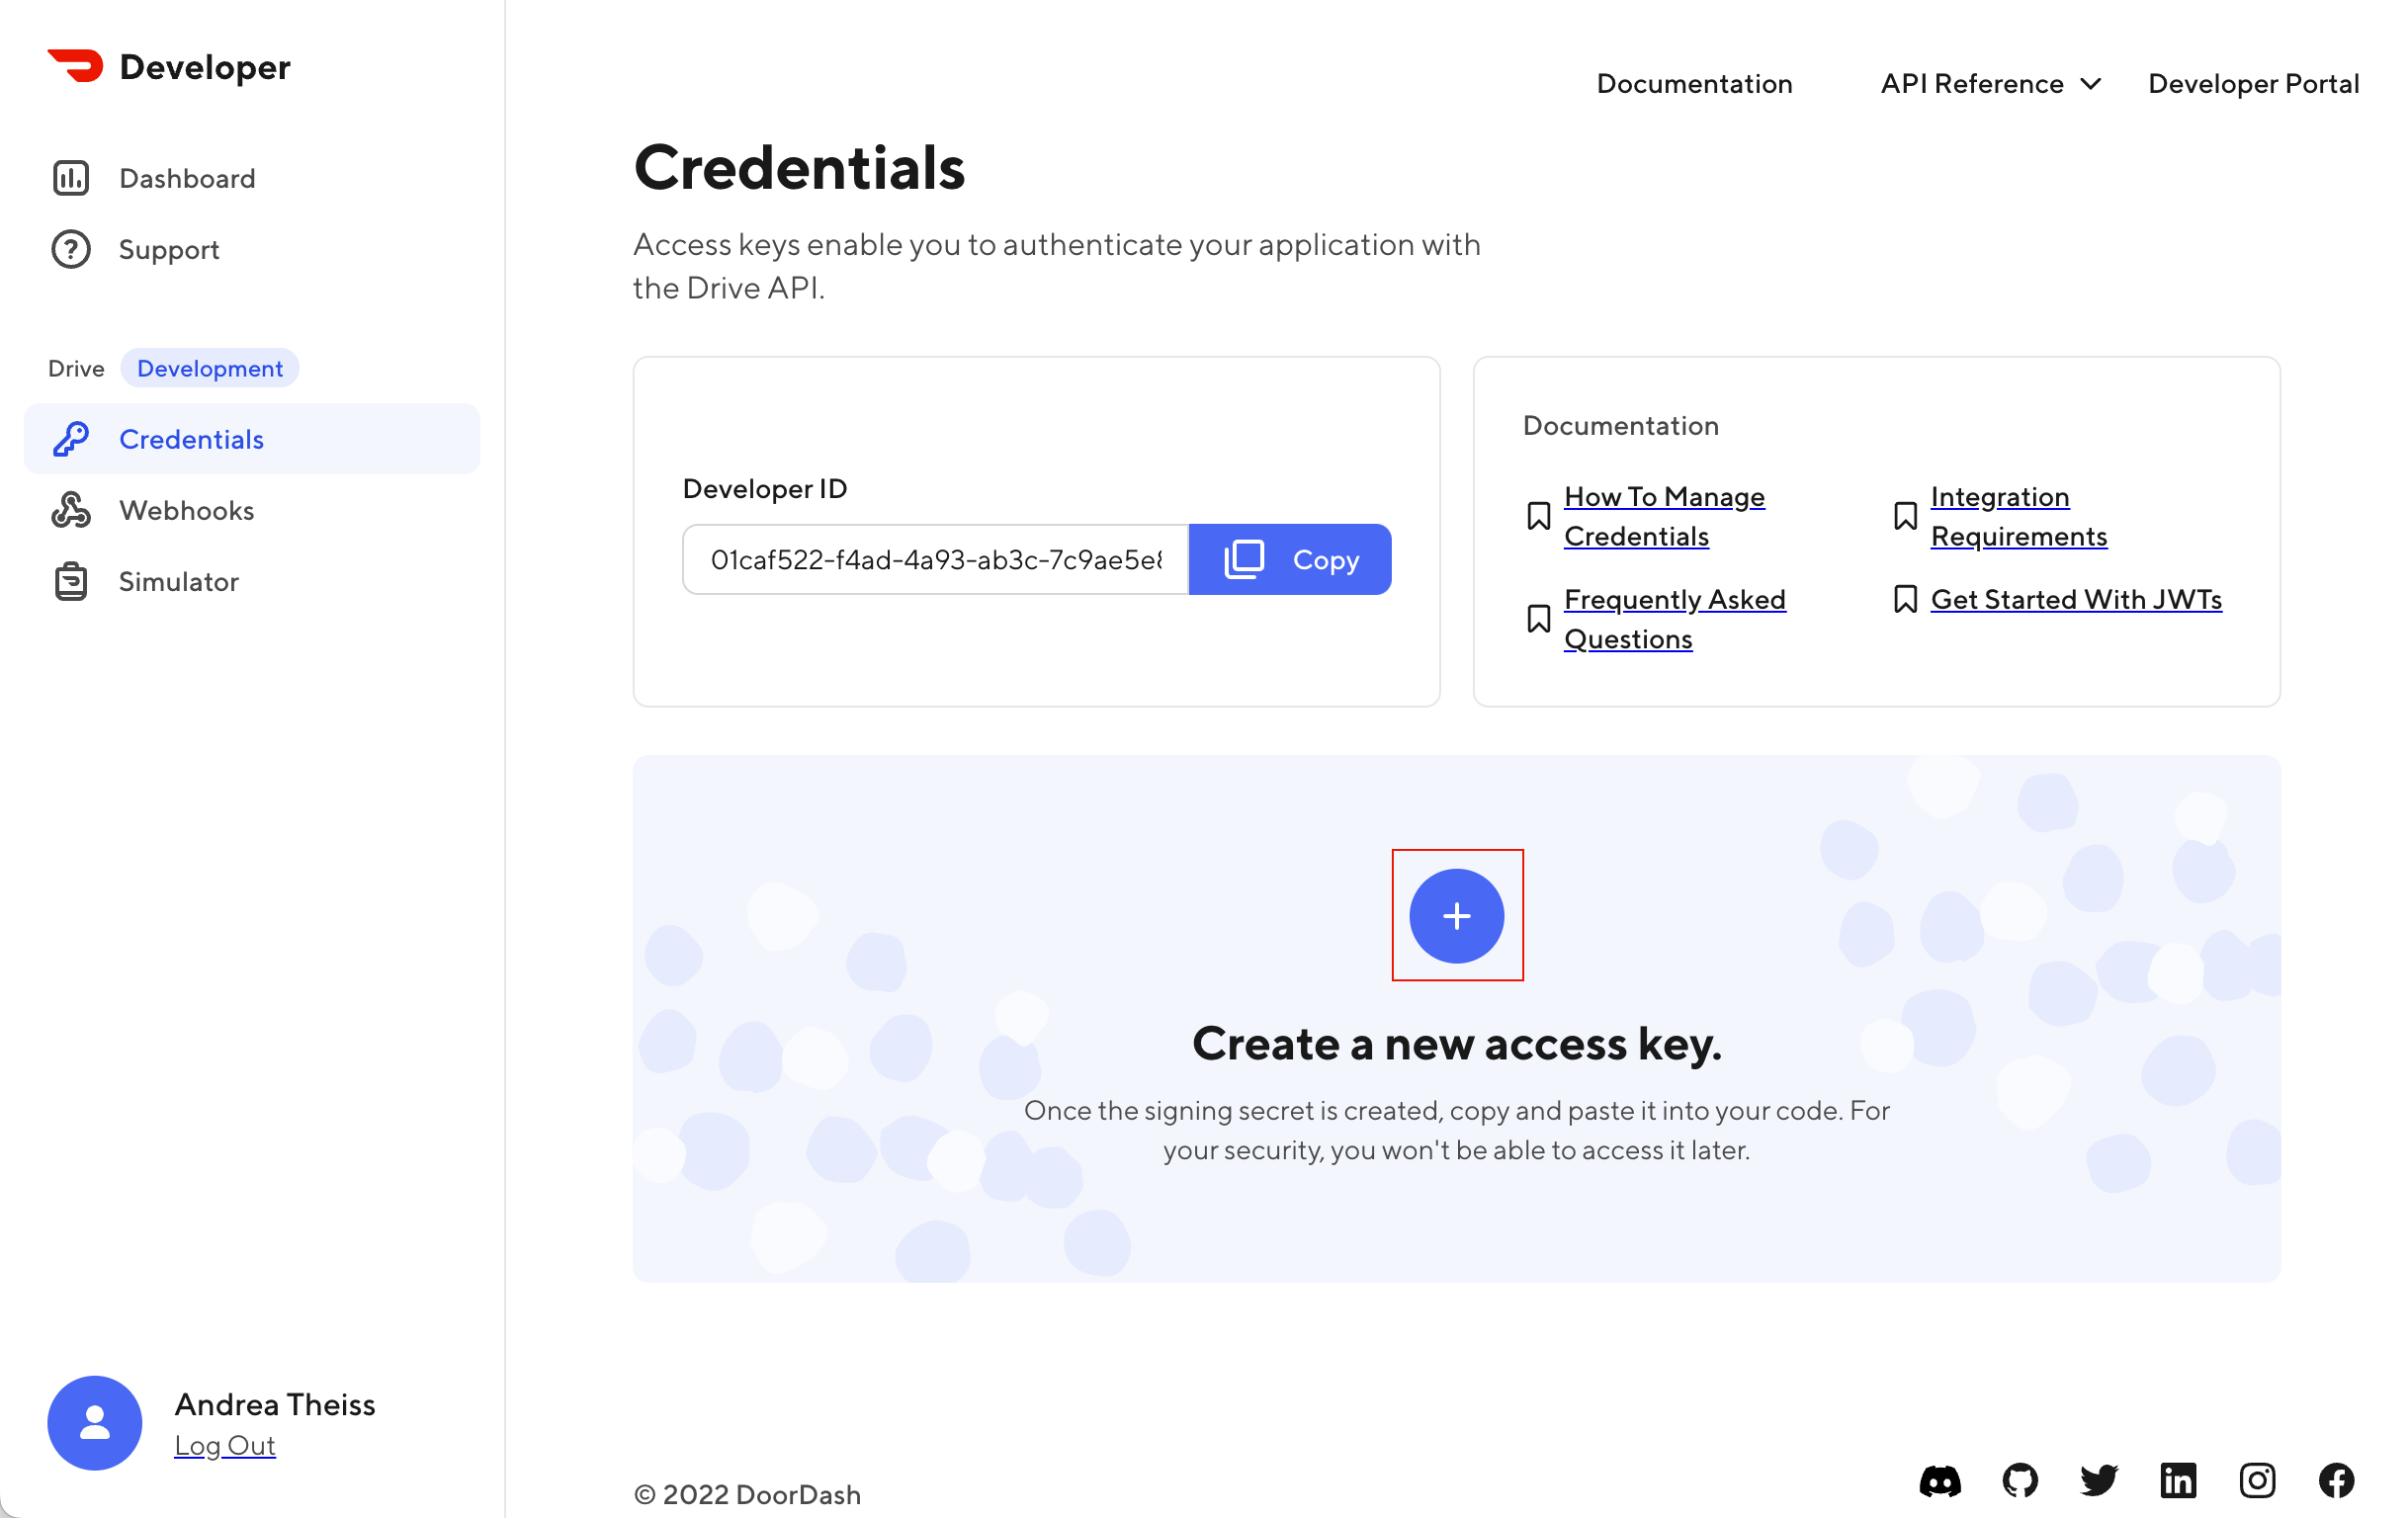
On the Credentials page, click the plus (+) icon in the center of the page to create a new access key. You'll use this access key to create a JSON Web Token (JWT) that you can use to make requests to the Drive API.
Name your key test-app and click Create Access Key.

Click Copy to copy the access key to your clipboard and then paste it somewhere where you can access it later in the tutorial.

Create a project
Create a directory for your project called test-app and then create a new file named create.js and a new file named get.js.
Create a delivery
Create a delivery by making a request to the Drive API using the DoorDash Node.js SDK.
When you created your access key, you created it for the Sandbox environment (until you request production access, you can only create access keys for the Sandbox environment). Because you're using an access key for the Sandbox environment, you can experiment with the API as much as you like without incurring real costs or hailing real Dashers.
First, install the DoorDash SDK npm package. In your terminal, run:
npm install @doordash/sdk
Then, copy the snippet below into create.js. Replace PASTE_YOUR_ACCESS_KEY_HERE with your access key from earlier in this tutorial.
const DoorDashClient = require('@doordash/sdk')

const client = new DoorDashClient.DoorDashClient(PASTE_YOUR_ACCESS_KEY_HERE)

const response = client
  .createDelivery({
    external_delivery_id: 'D-12345',
    pickup_address: '1000 4th Ave, Seattle, WA, 98104',
    pickup_phone_number: '+1(650)5555555',
    dropoff_address: '1201 3rd Ave, Seattle, WA, 98101',
    dropoff_phone_number: '+1(650)5555555',
  })
  .then(response => {
    console.log(response.data)
  })
  .catch(err => {
    console.log(err)
  })
Test your code. In your terminal, run:
node create.js
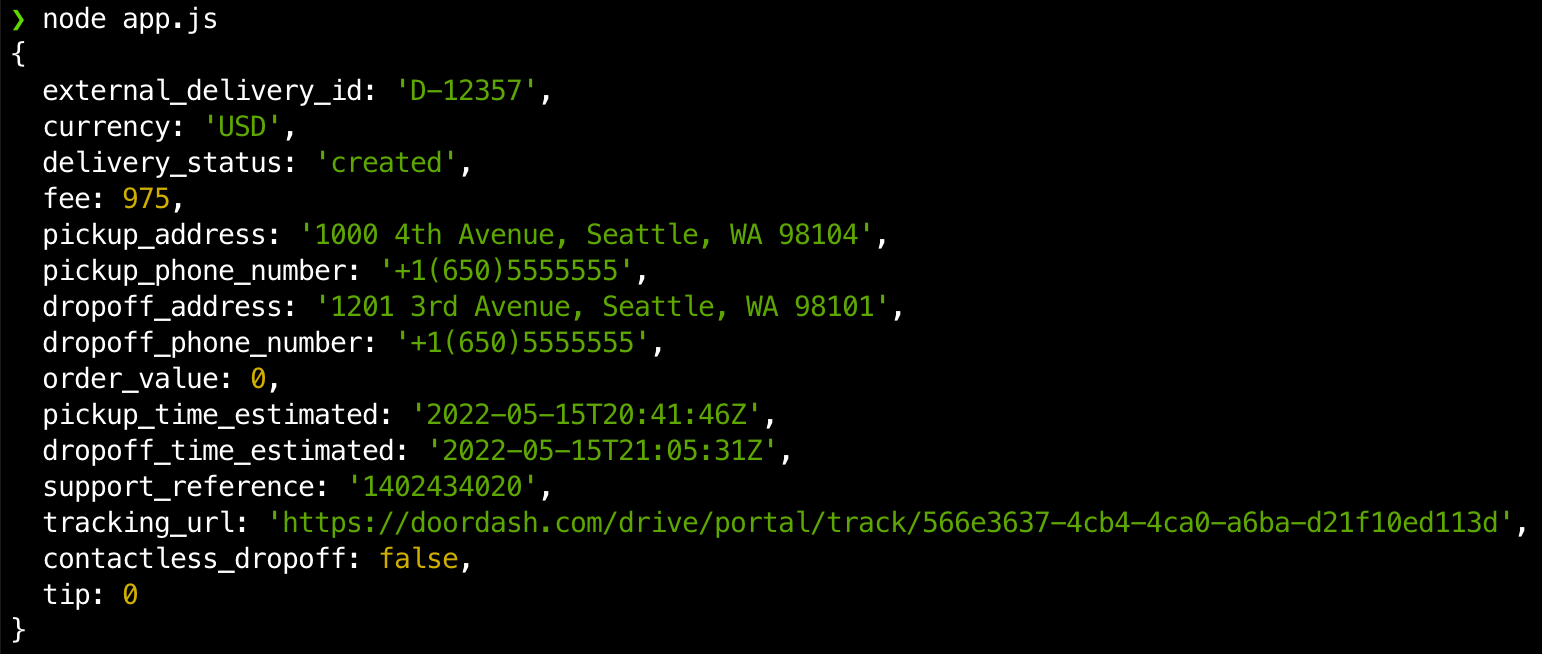
If you were successful, you should see output like this in the terminal where you ran the node create.js command:
Use the Delivery Simulator
You can use the Delivery Simulator to advance your delivery through the stages of the delivery process, from creation to Dasher assignment to pickup to delivery.
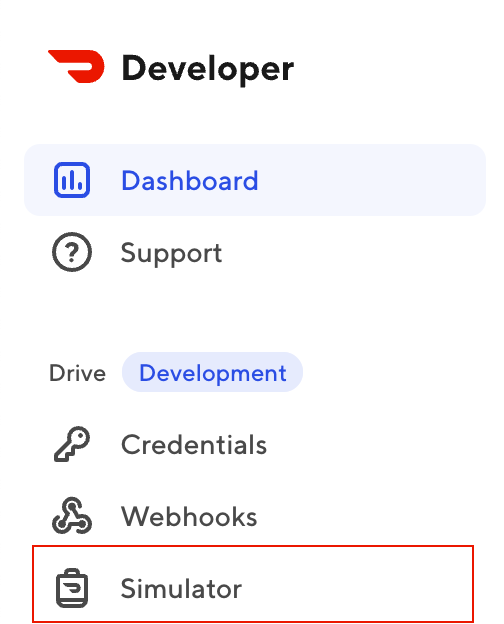
In the Developer Portal left navigation, click Simulator.
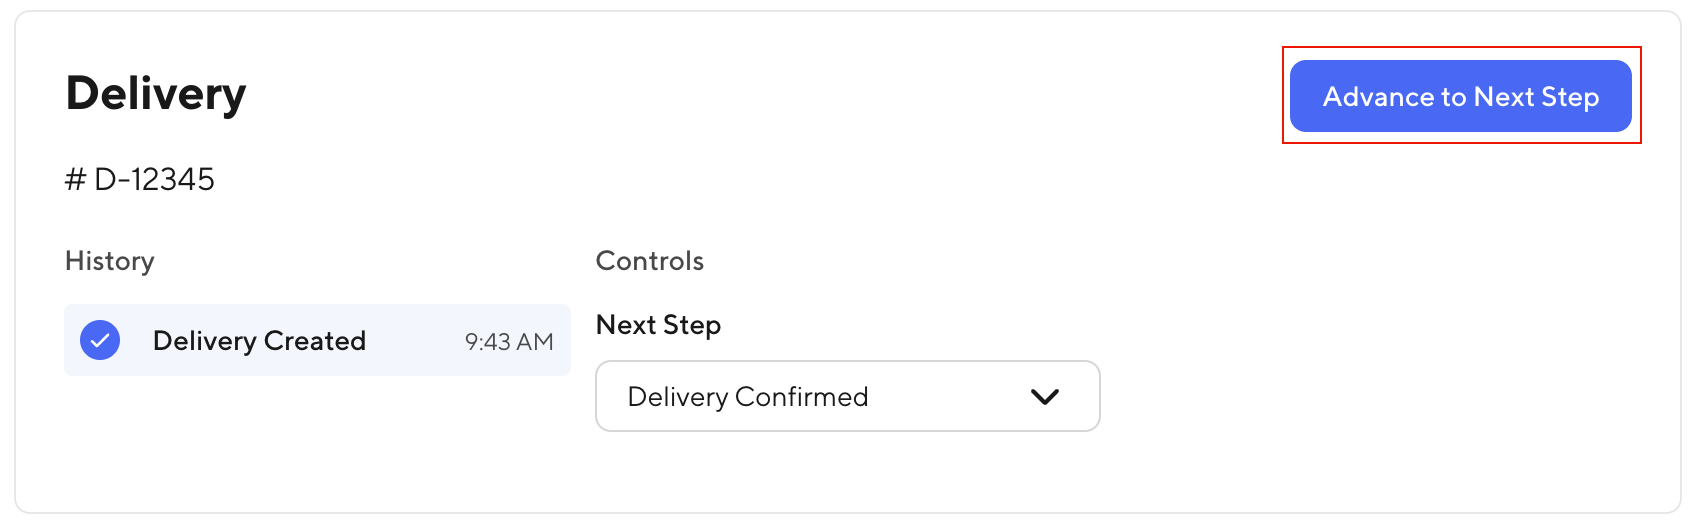
Find the delivery you created by looking for the identifier #D-12345. Click Advance to Next Step to move your delivery to the Delivery Confirmed stage.
Get the status of your delivery
You can always get the latest status of a delivery by making a request to the Drive API.
Then, copy the snippet below into get.js. Replace PASTE_YOUR_ACCESS_KEY_HERE with your access key from earlier in this tutorial.
const DoorDashClient = require('@doordash/sdk')

const client = new DoorDashClient.DoorDashClient(PASTE_YOUR_ACCESS_KEY_HERE)

const response = client
  .getDelivery('D-12345')
  .then(response => {
    console.log(response.data)
  })
  .catch(err => {
    console.log(err)
  })
Then, test your code. In your terminal, run:
node get.js
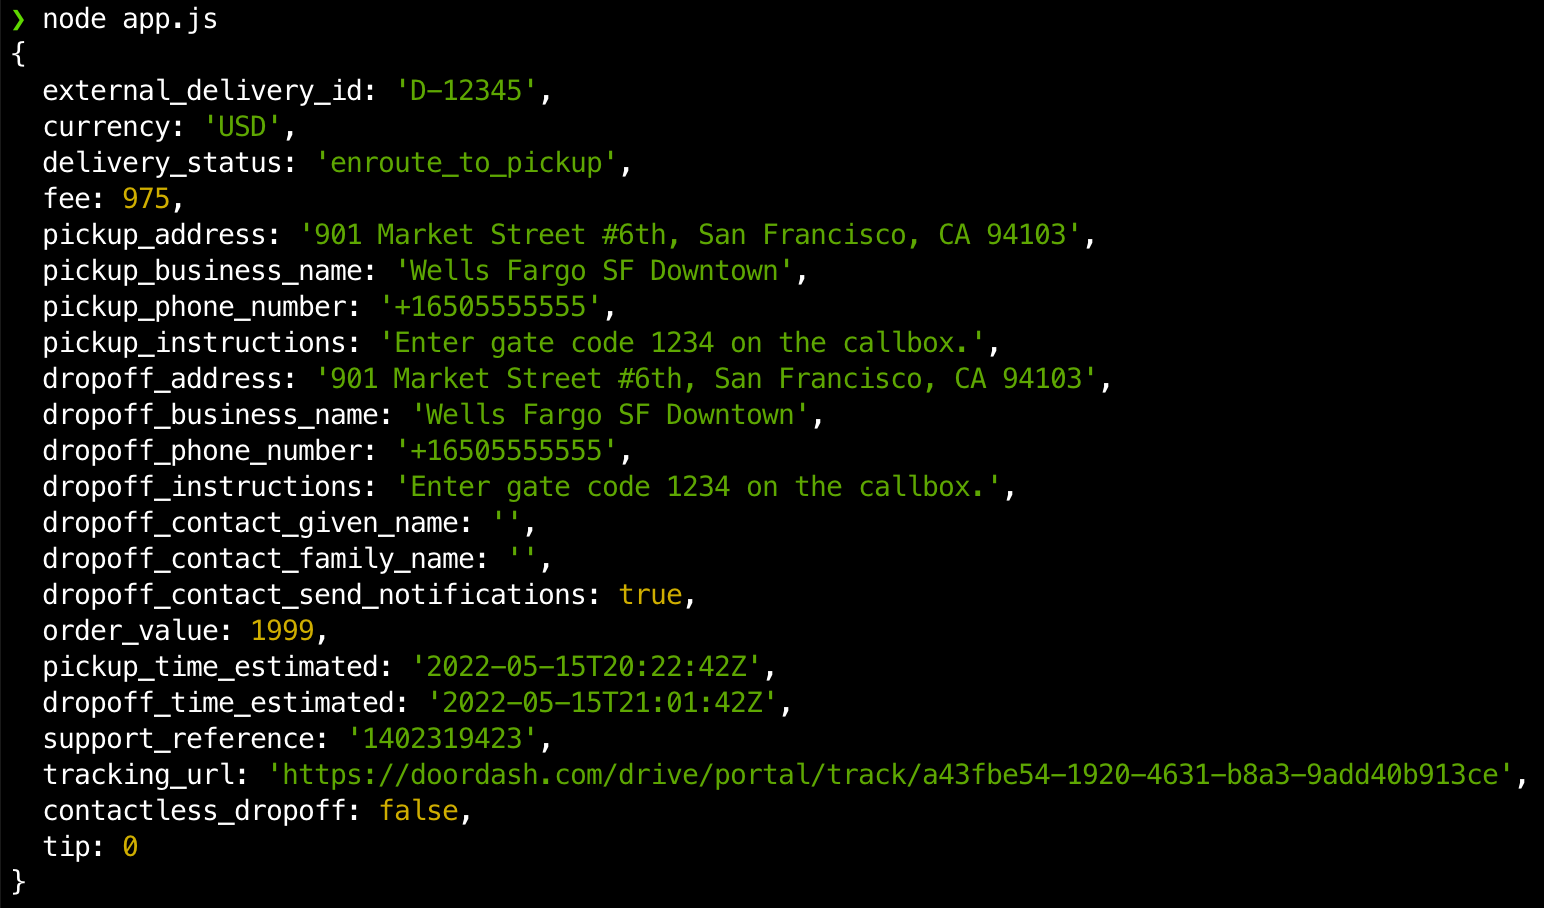
If you were successful, you should see output like this in the terminal. Notice that the delivery_status is enroute_to_pickup.
Finish up
If you'd like, continue to use the Delivery Simulator to advance your delivery through the stages of the delivery process and then re-run your app to see how the delivery details change.
The code in this tutorial was designed to help you quickly get started with the Drive API. It does not follow security best practices. If you take the code you wrote in this tutorial and bring it into your app, don't check the access key into a source control system like Git, and instead use a secret manager or secret store to securely store it
Next steps
Now that you're familiar with the Drive API and the DoorDash Node.js SDK, you're ready to start adding delivery capabilities to your app! To learn more, use the "How-to guides" section in the navigation on the left side of this page and the How to Build for Restaurants guide.