Get started (Postman)
Production access to the Drive API is currently restricted, and we cannot provide a timeline for certification following development. If you have not completed development and submitted a production access request, we recommend pausing development. Contact us here to record your interest.
This tutorial will introduce you to the Drive API, DoorDash's API for requesting deliveries fulfilled by our fleet of Dashers, using the Postman API development tool. It assumes you're familiar with the basics of Postman. If you'd like to learn the Drive APIs by writing code, you should use the Get started (Node.js SDK) tutorial or Get started (API) tutorial instead.
Table of contents
- Sign into the Developer Portal
- Create an access key
- Set up Postman
- Create a delivery
- Use the Delivery Simulator
- Get the status of your delivery
- Finish up
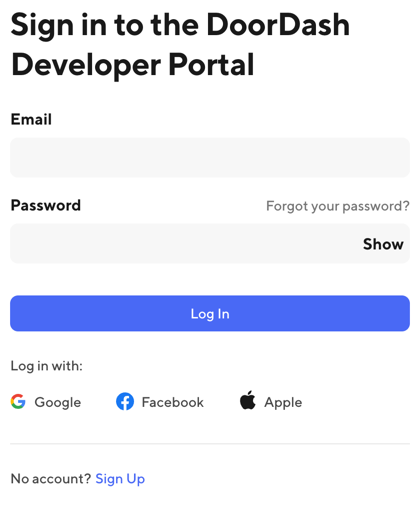
1. Sign into the Developer Portal
Go to the Developer Portal using the link in the top right corner of this page. If you already have a DoorDash account, enter your email and password and sign in; if not, or if you want to use a different account for development, click Sign Up and follow the process to create an account.
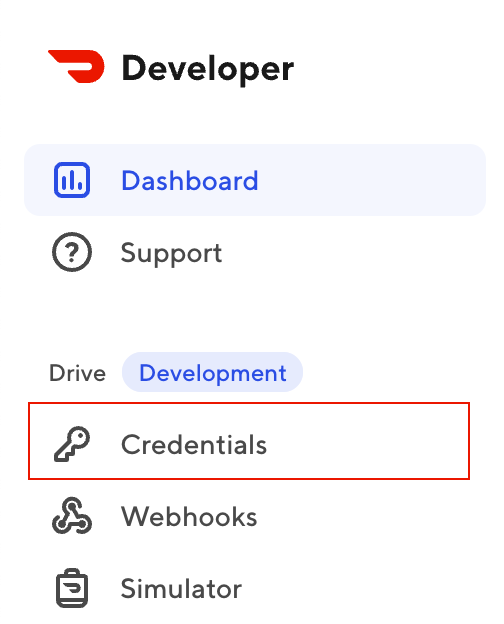
2. Create an access key
In the left navigation, click Credentials.
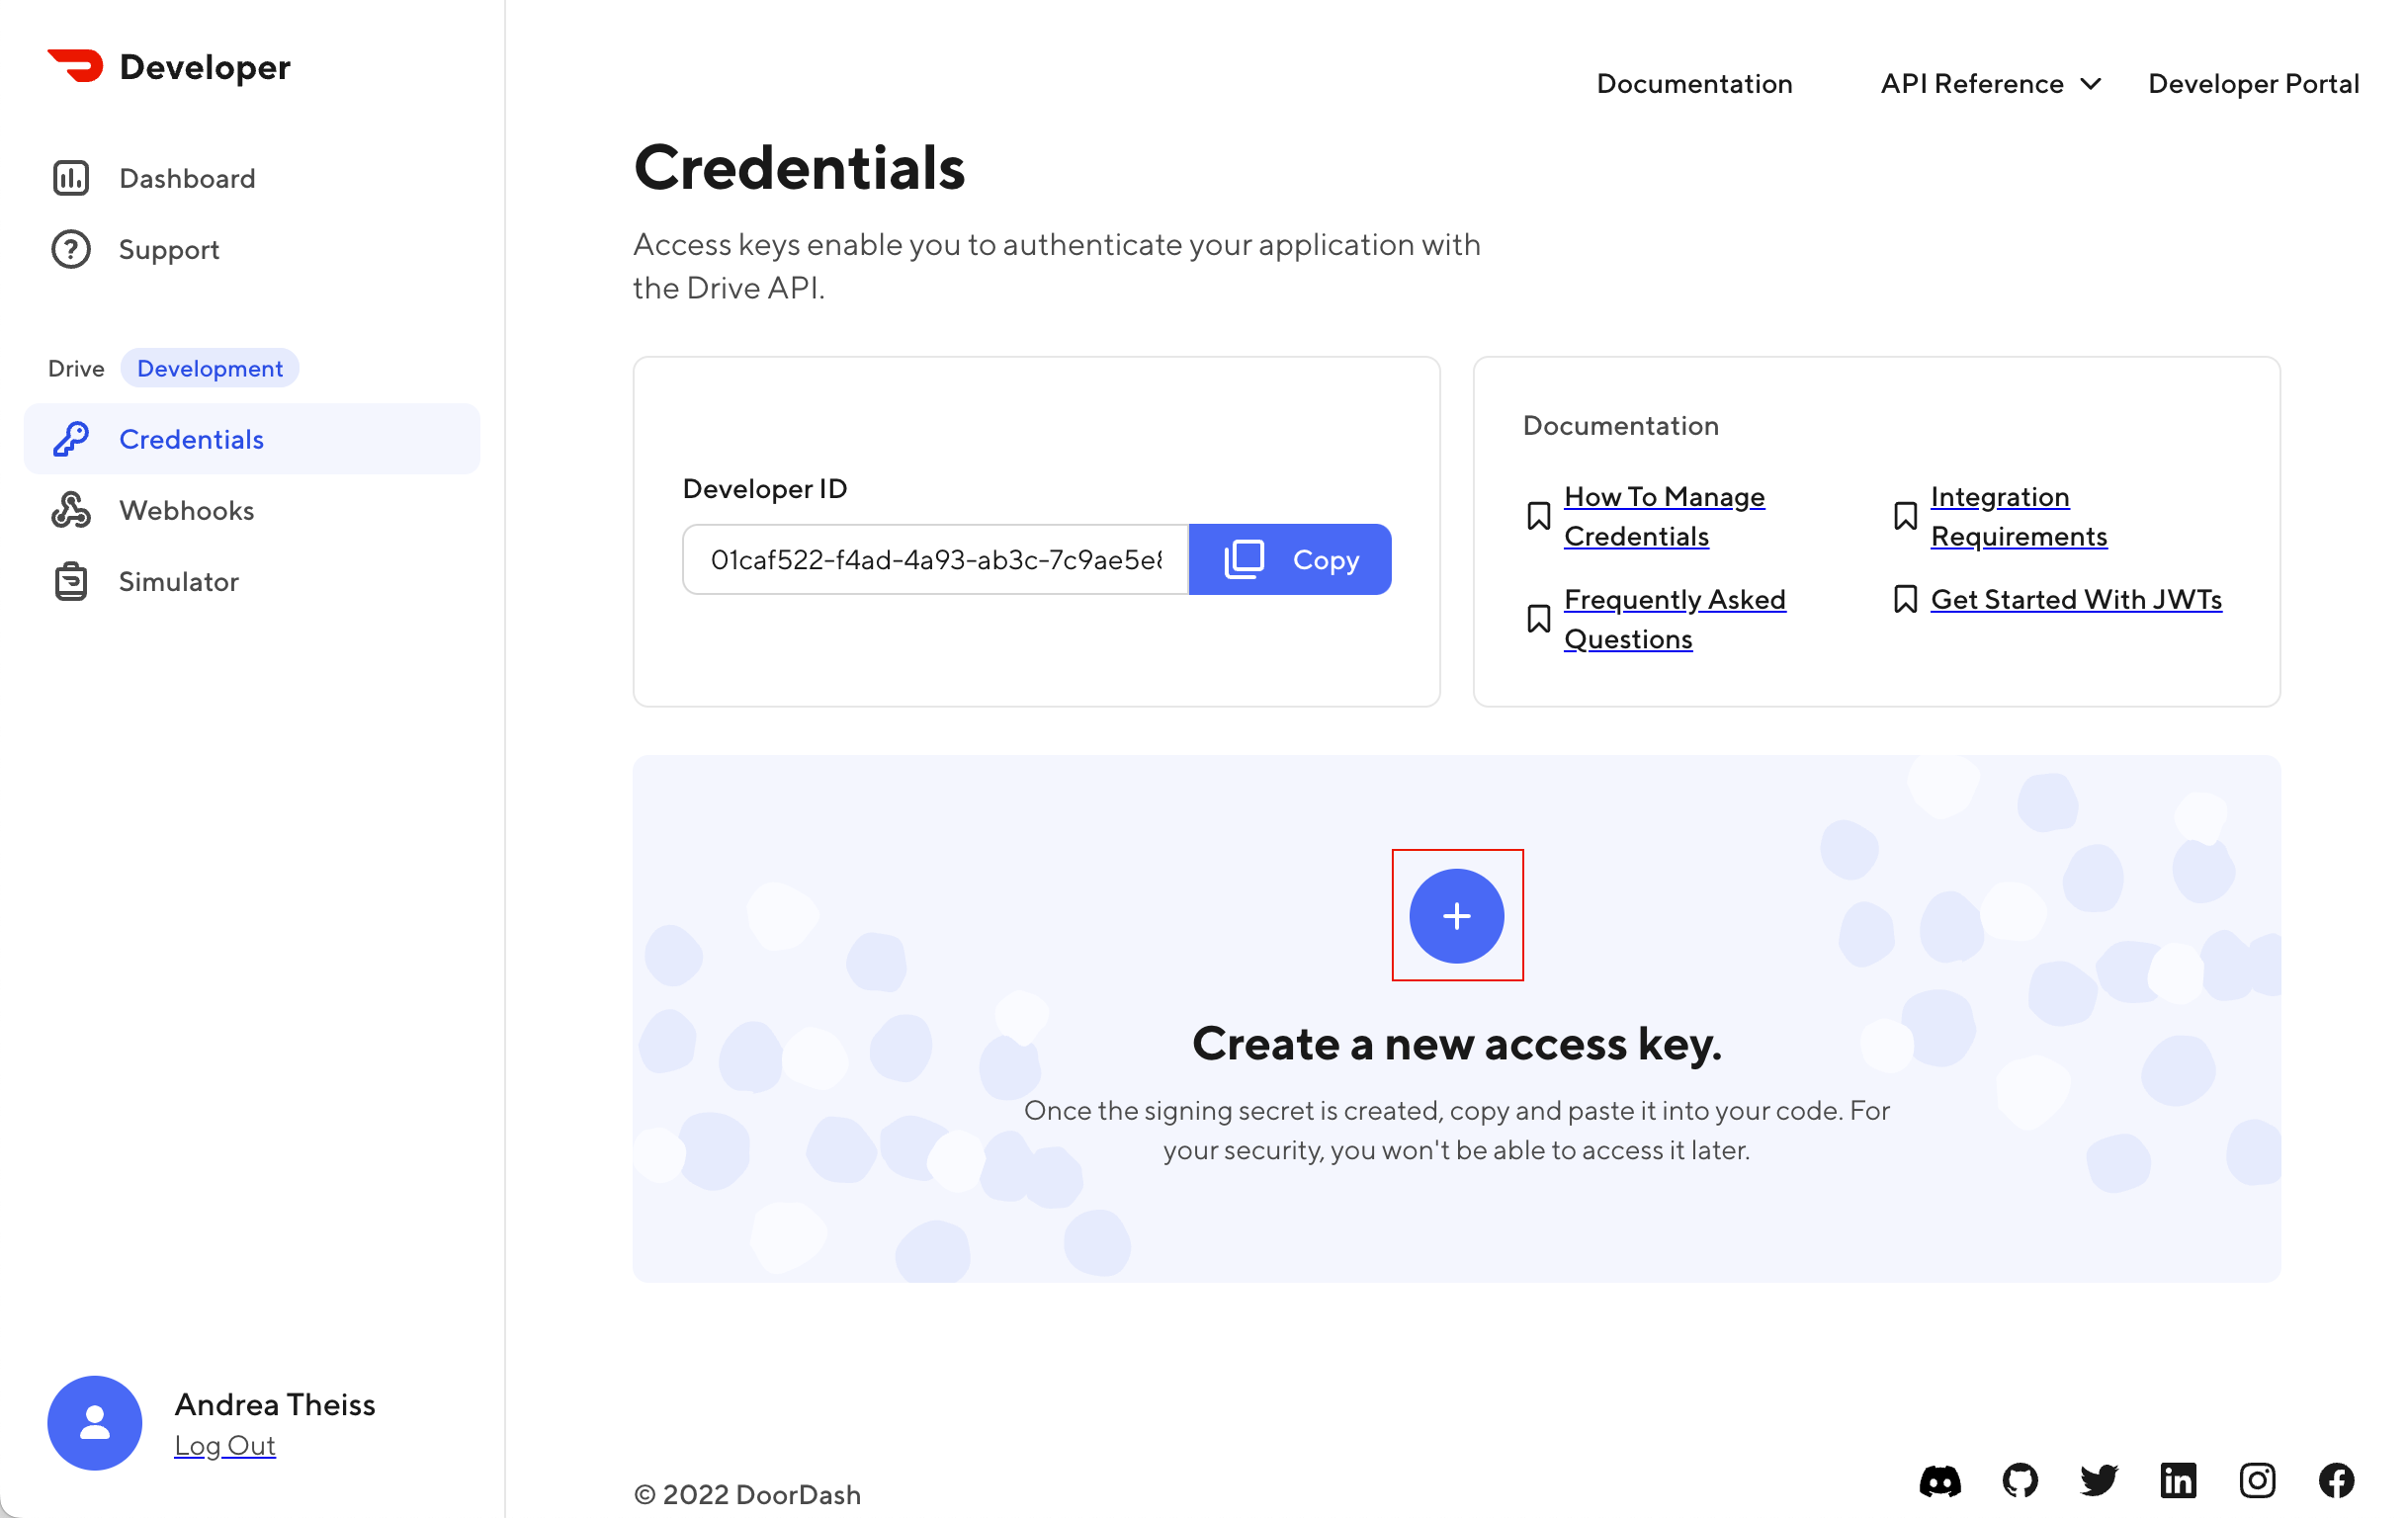
On the Credentials page, click the plus (+) icon in the center of the page to create a new access key. You'll use this access key to create a JSON Web Token (JWT) that you can use to make requests to the Drive API.
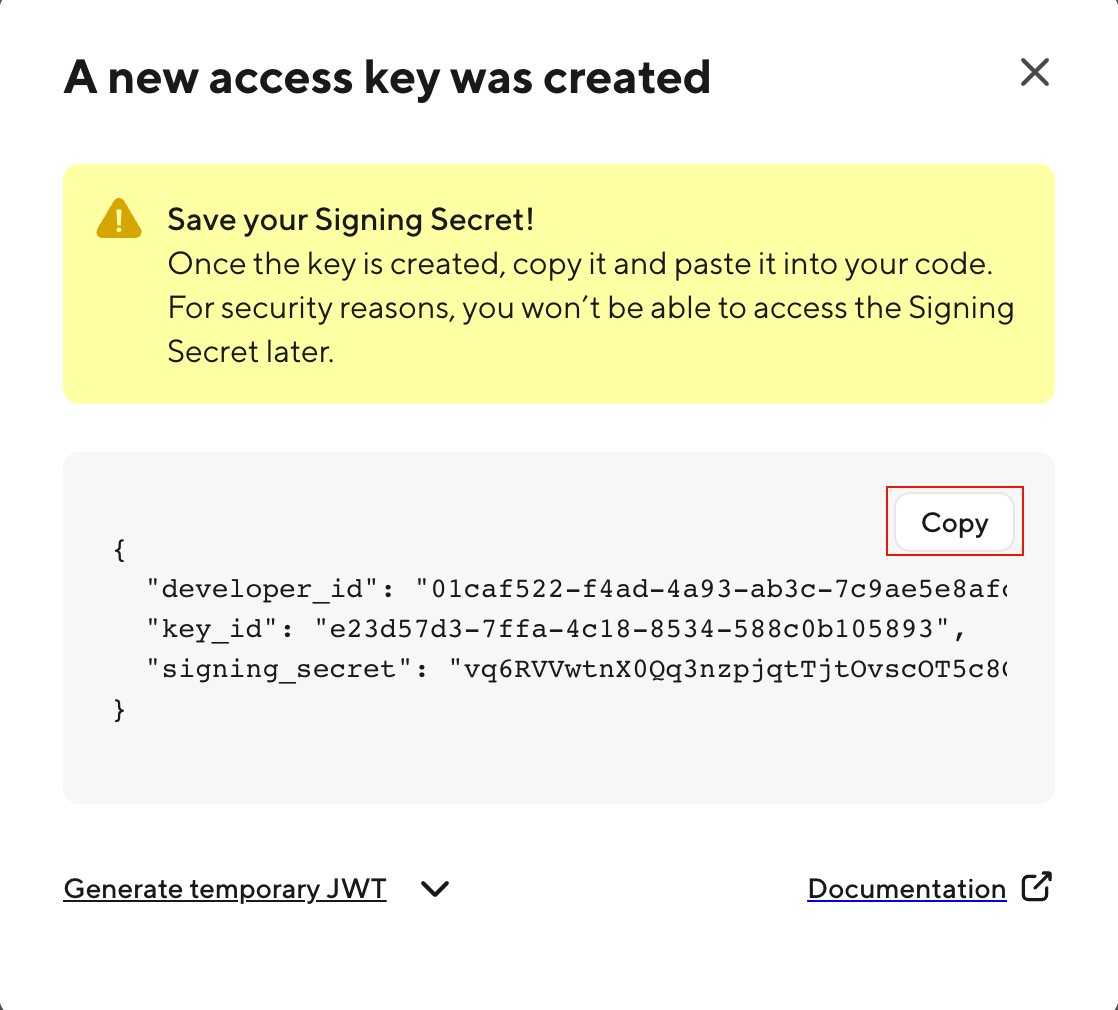
Name your key test-app and click Create Access Key.
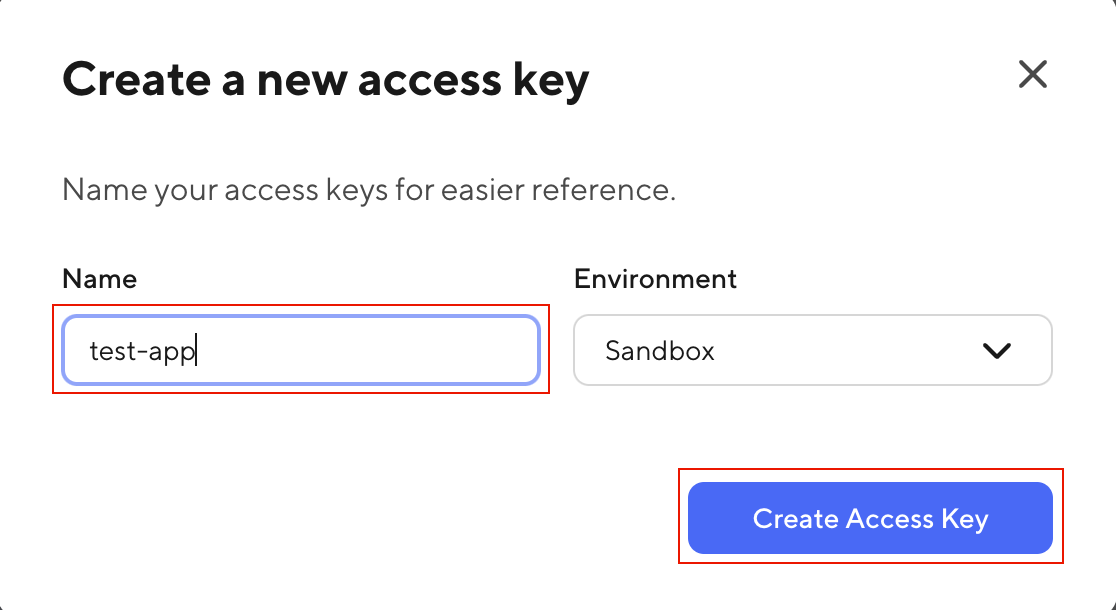
Click Copy to copy the access key to your clipboard and then paste it somewhere where you can access it later in the tutorial.
3. Set up Postman
First, click the button below to fork the DoorDash Drive Postman collection:
You may need to sign up for Postman if you don't have an account.
3.1. Set up a Postman environment
Once you have the fork of the collection, set up an Environment to store your access key.
- In the left sidebar, click Environments, then click the ➕ symbol.
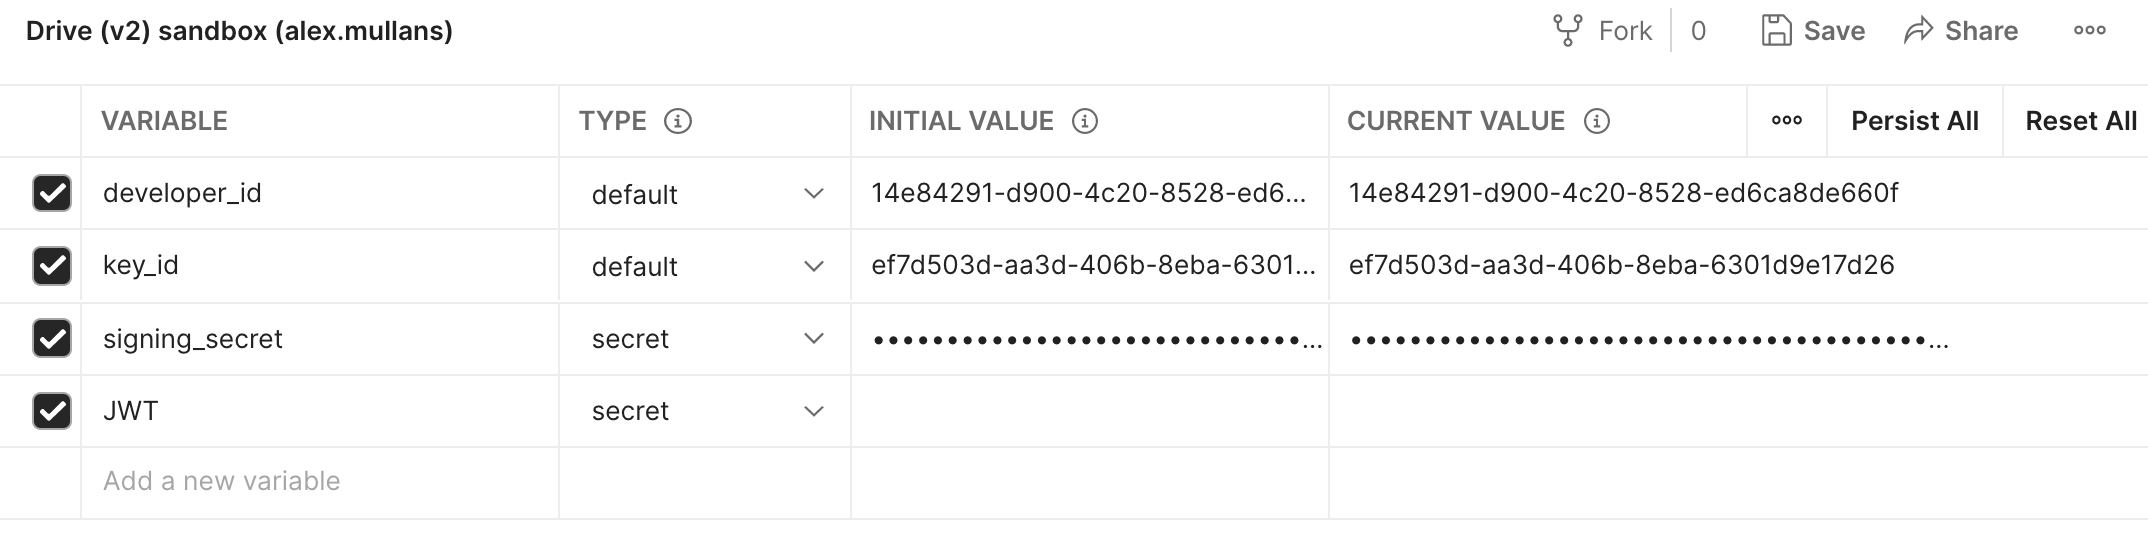
- Name your environment "Drive sandbox".
- Add two default variables called "developer_id" and "key_id", and two secret variables called "signing_secret" and "JWT" (note the capitalization) and paste in each of the values from your Access Key. Leave "JWT" blank.
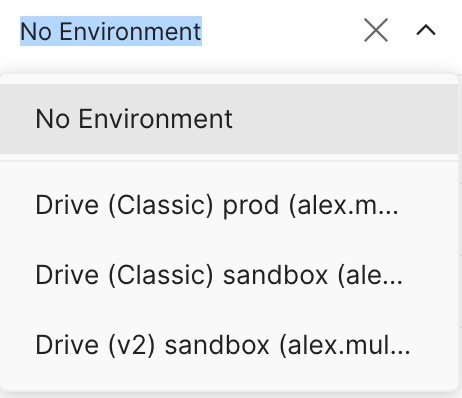
In the upper right, next to the eyeball, click the dropdown and select the "Drive sandbox" environment you just created.
4. Create a delivery
Now you can create a delivery by making a request to the Drive API using Postman.
When you created your access key, you created it for the Sandbox environment (until you request production access, you can only create access keys for the Sandbox environment). Because you're using an access key for the Sandbox environment, you can experiment with the API as much as you like without incurring real costs or hailing real Dashers.
In the left sidebar, click Collections, then expand the Drive collection that you forked and click the Create a Delivery request. Click the Body tab to see the request that will be sent.
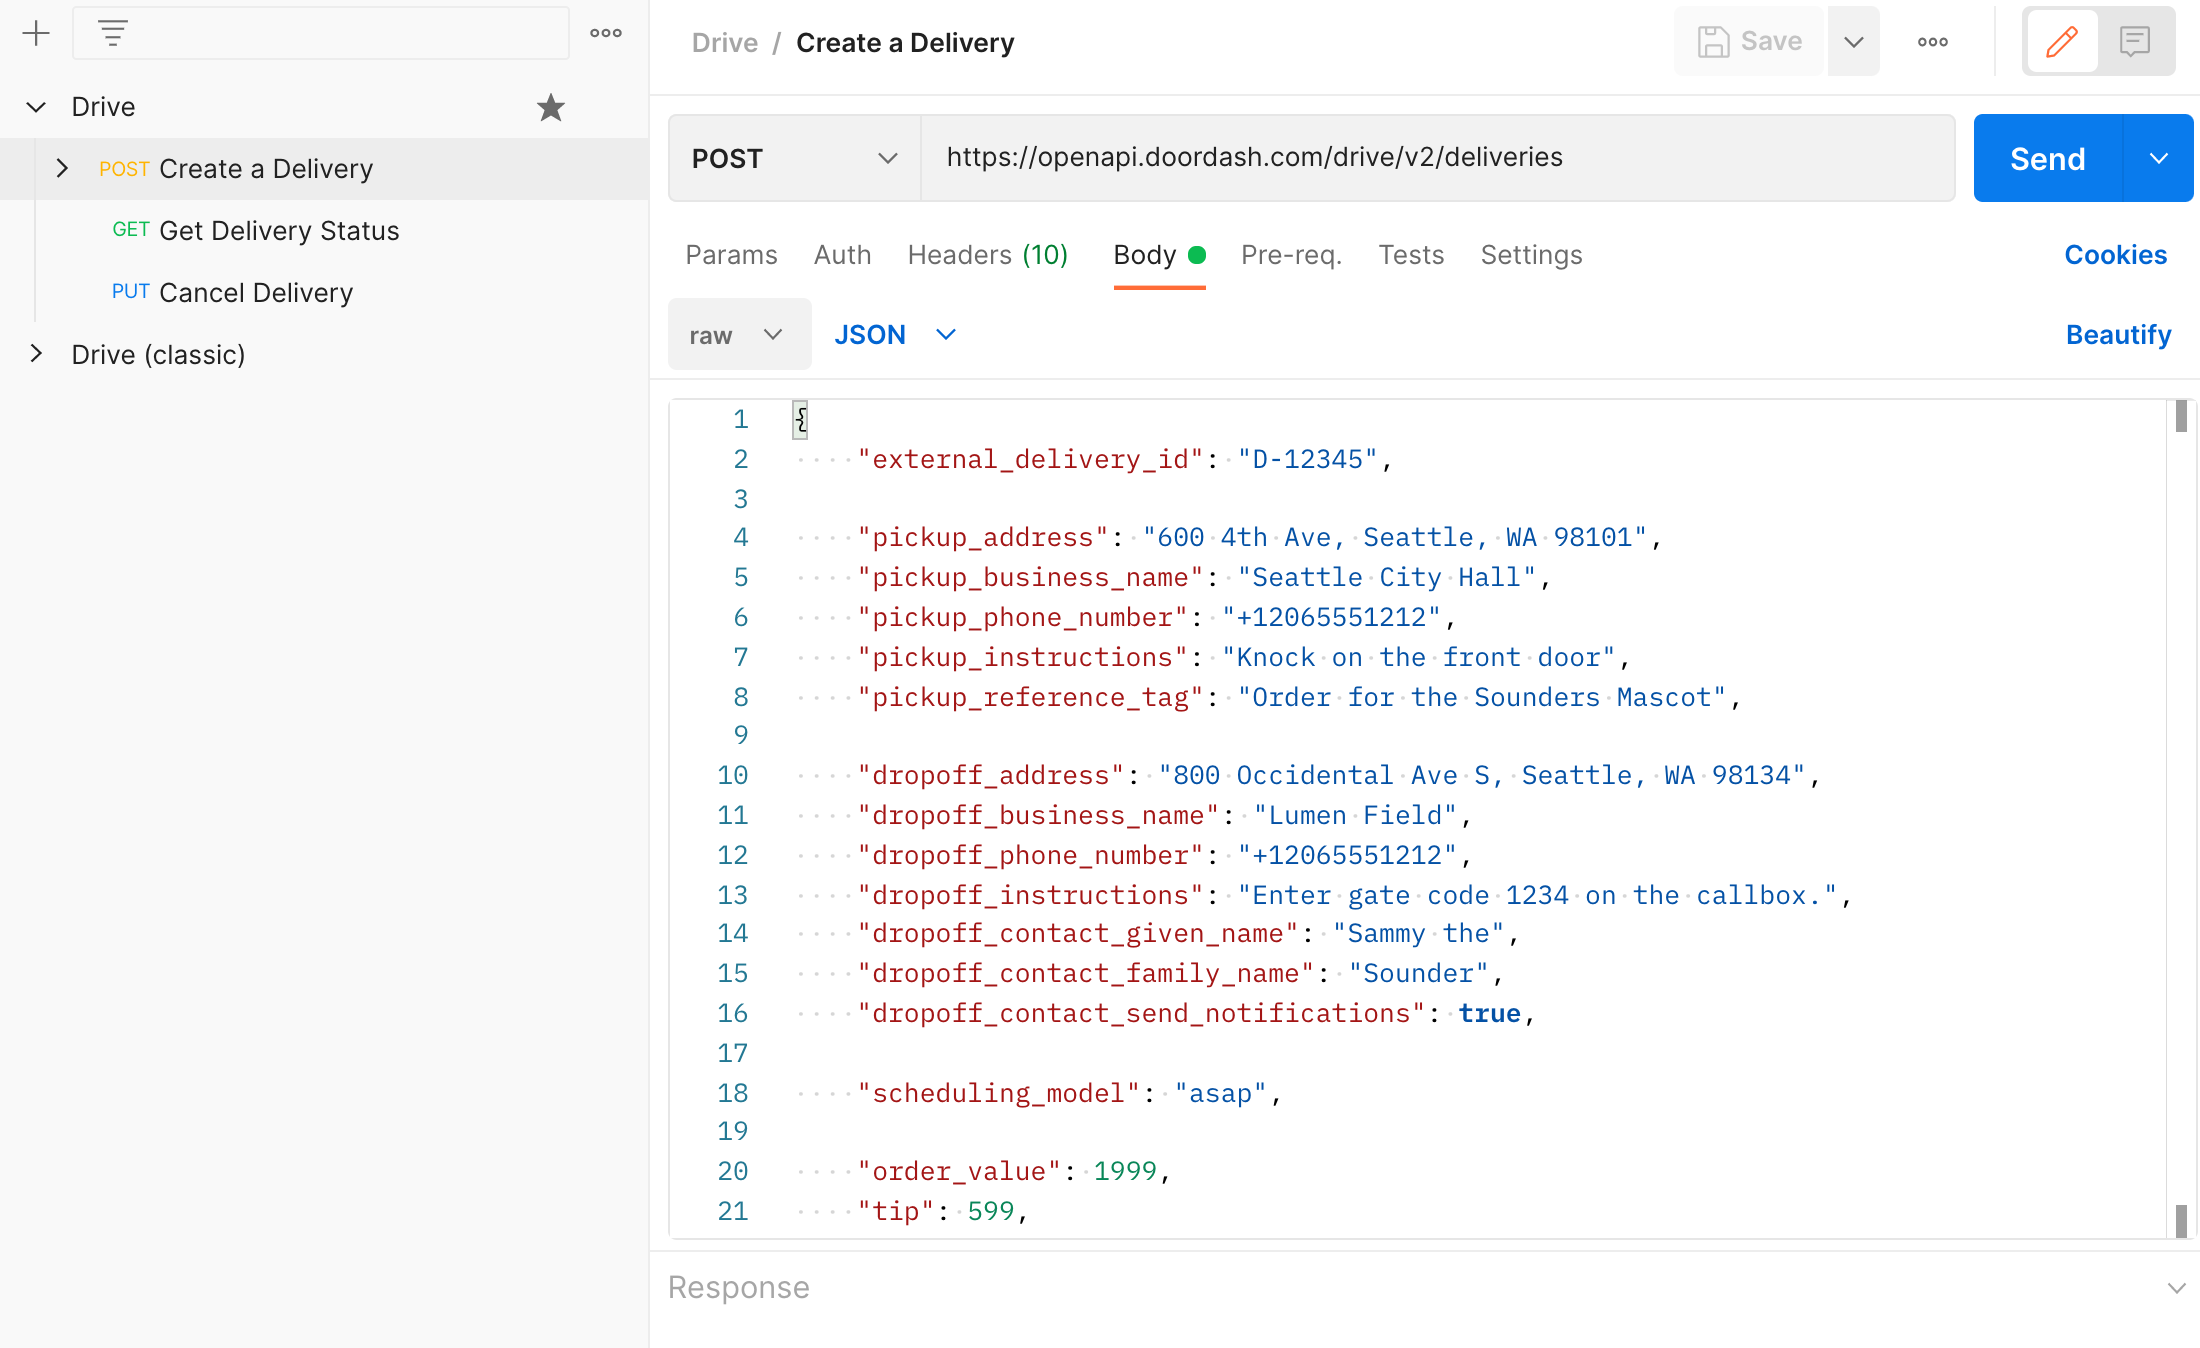
Click Send to create the delivery.
5. Use the Delivery Simulator
You can use the Delivery Simulator to advance your delivery through the stages of the delivery process, from creation to Dasher assignment to pickup to delivery.
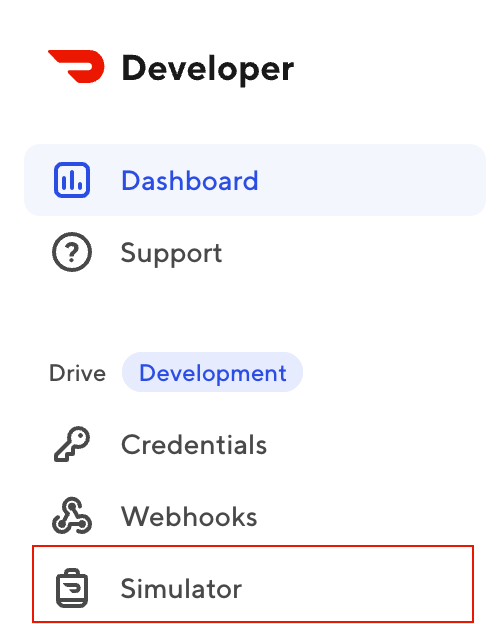
In the Developer Portal left navigation, click Simulator.
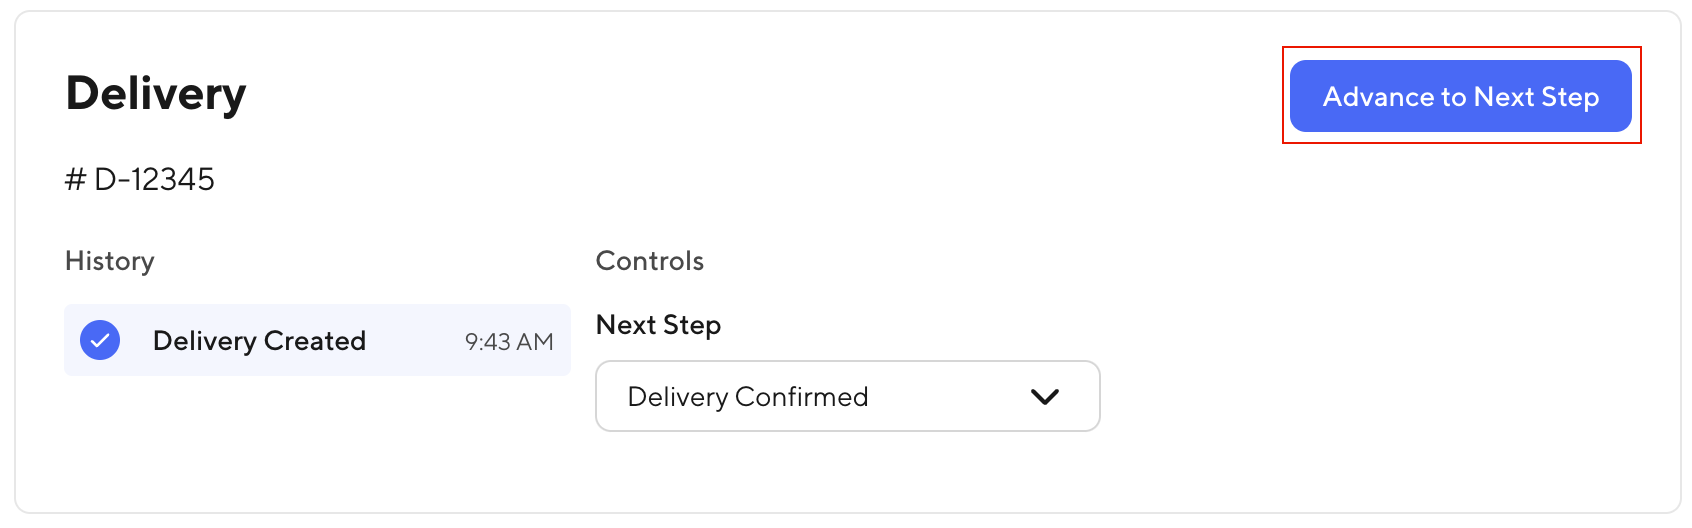
Find the delivery you created by looking for the identifier #D-12345. Click Advance to Next Step to move your delivery to the Delivery Confirmed stage.
6. Get the status of your delivery
You can always get the latest status of a delivery by making a request to the Drive API.
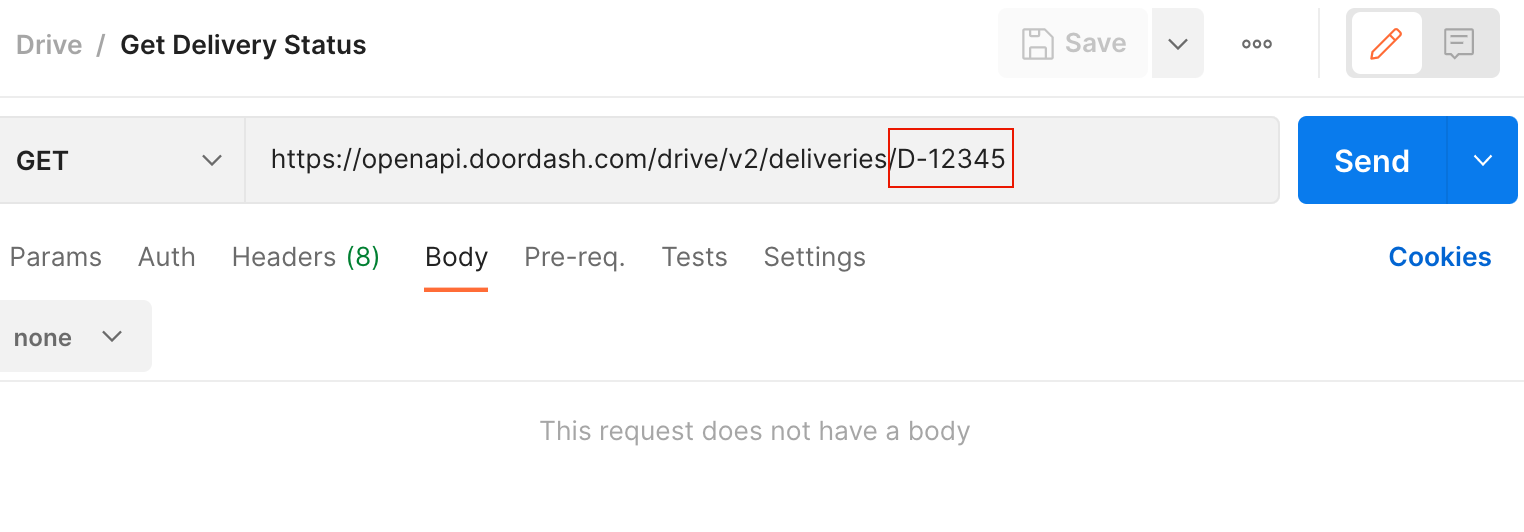
In the left sidebar, click the Get Delivery Status request. Ensure that the URL of the request contains the delivery ID you want to get then click Send.
Finish up
If you'd like, continue to use the Delivery Simulator to advance your delivery through the stages of the delivery process and then re-run the Get Delivery Status request to see how the delivery details change.
Next steps
Now that you're familiar with the Drive API, you're ready to start adding delivery capabilities to your app! If you'd like to follow a tutorial that will teach you how to use the Drive APIs in code, use Get started (Node.js SDK) tutorial or Get started (API) tutorial. Or, to learn more, use the "How-to guides" section in the navigation on the left side of this page and the How to Build for Restaurants guide.